Home to Washington’s tallest mountain, Mount Rainier National Park offers amazing hiking and awe-inspiring views. Extending 14,410 feet above sea level, Mount Rainier is an active volcano and the most glaciated peak in the contiguous U.S. This park is home to a trail with one of the best mileage to views ratios we’ve ever had the pleasure of hiking. We spent three days in August exploring different areas of this pristine park.
Day 1 | Fremont Lookout & Burroughs Mountain Loop Hike
Hike to Fremont Lookout & Third Burroughs
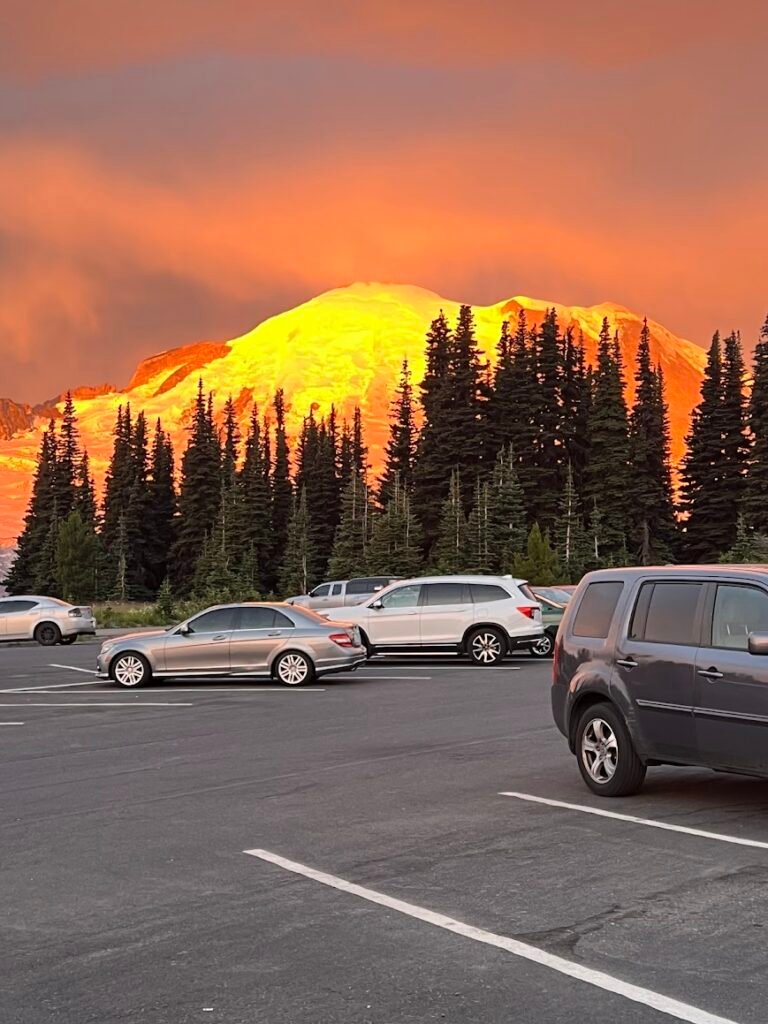
If we had to choose one word to describe the Sunrise Corridor area of Mount Rainier National Park, it would be: spectacular. We arrived at the trailhead just as the sun was rising and snapped the photo below of the pinks and oranges that seemed to be almost radiating off the mountain.
Sunrise is the highest point accessible by vehicle and offers stunning views of Mount Rainier. For an even closer look, we first set off on trail towards the Fremont Overlook.
We hiked along the Sourdough Ridge Trail stopping every few minutes to marvel at Rainier in the distance and enjoy the solitude among the trees lining the path. We reached the trail junction at Frozen Lake, the water source for Sunrise Visitor Center, and continued on nearly 1.5 miles.
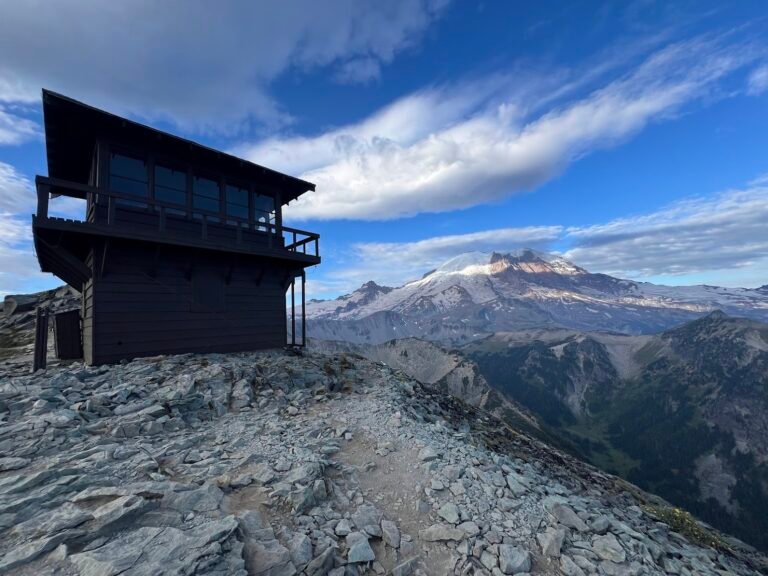
Built in 1934, the Fremont Tower is a simple, two-story frame cabin used in the past as a fire lookout. From here, we had clear views of Rainier and also Grand Park, Redstone Peak, Skyscraper Mountain, and Berkeley Park.
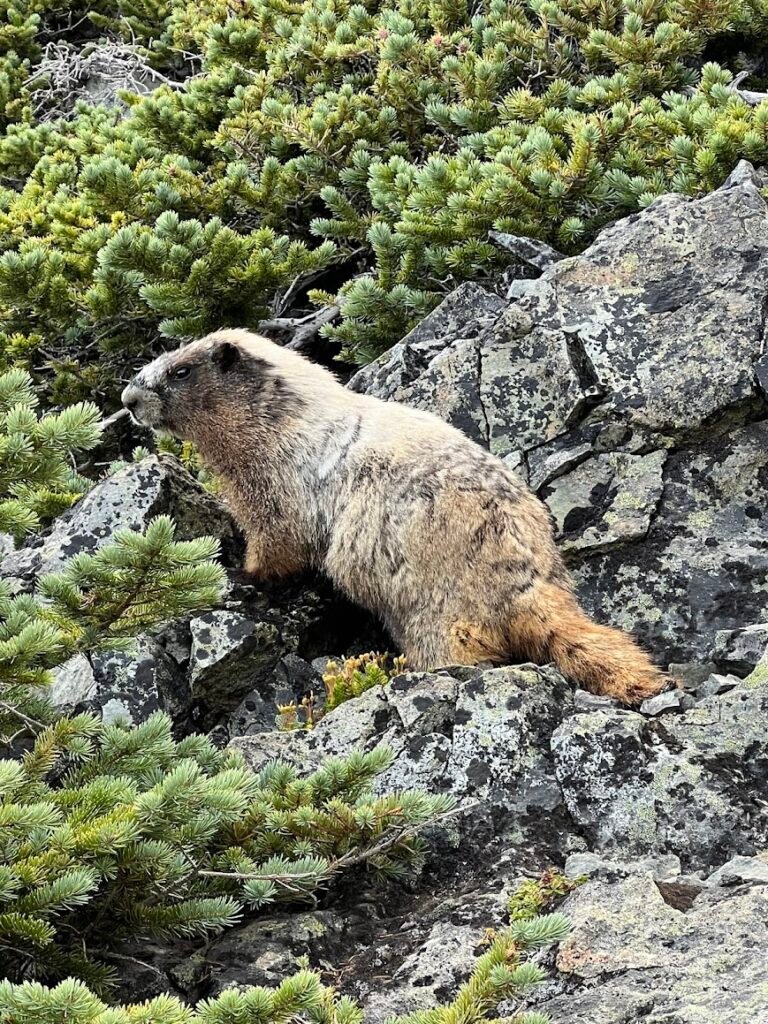
We then set off down trail and retraced our steps to the junction, this time veering onto the Burroughs Mountain Trail at Frozen Lake. Along the way we had a fantastic marmot sighting. Look at that furry little guy!
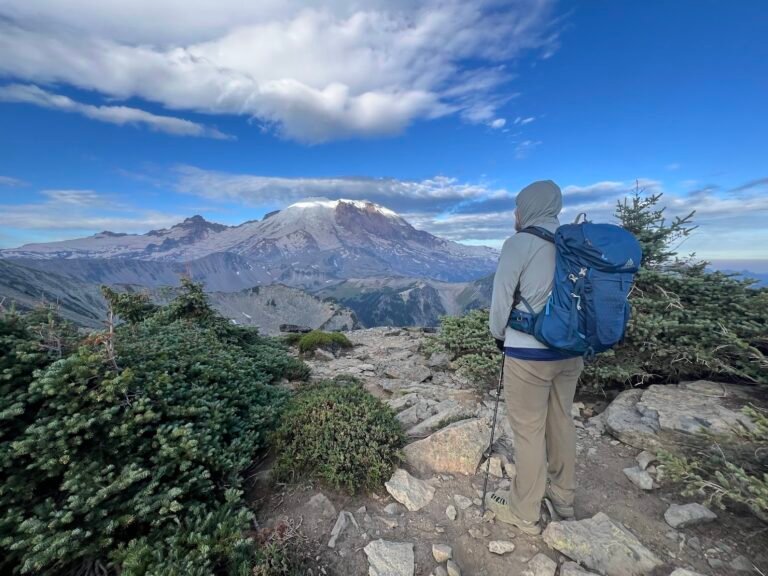
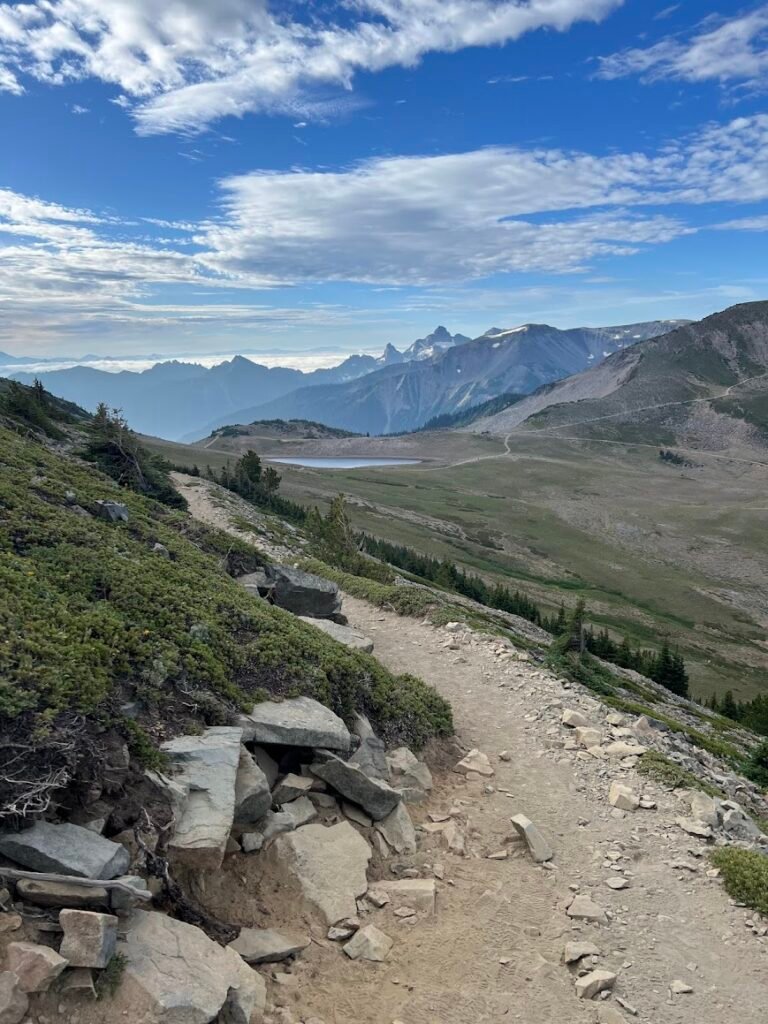
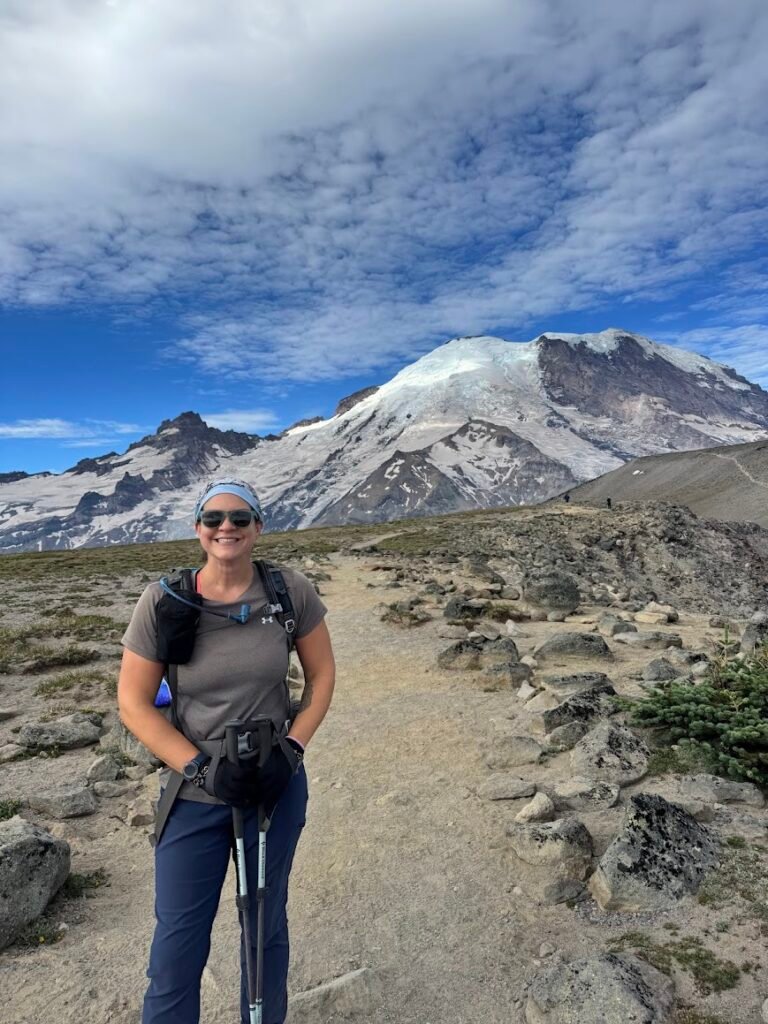
There are three Burroughs mountains and we recommend tackling them all if you have the stamina because the views get better at each one. We climbed very steeply to the broad, open top of First Burroughs Mountain at roughly 7,000 feet. Here the landscape feels dramatically different due to how barren and open it is. But that also makes for amazing views.
To reach the Second Burroughs, the trail climbed about 400 feet in a 1/2 mile. Here we were treated to what felt like views of the entire park. This is where many hikers stop their journey, but we continued on.
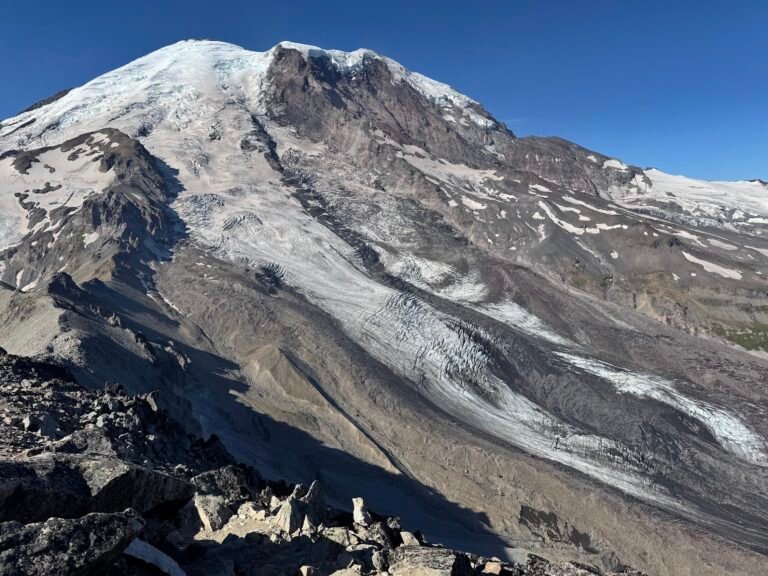
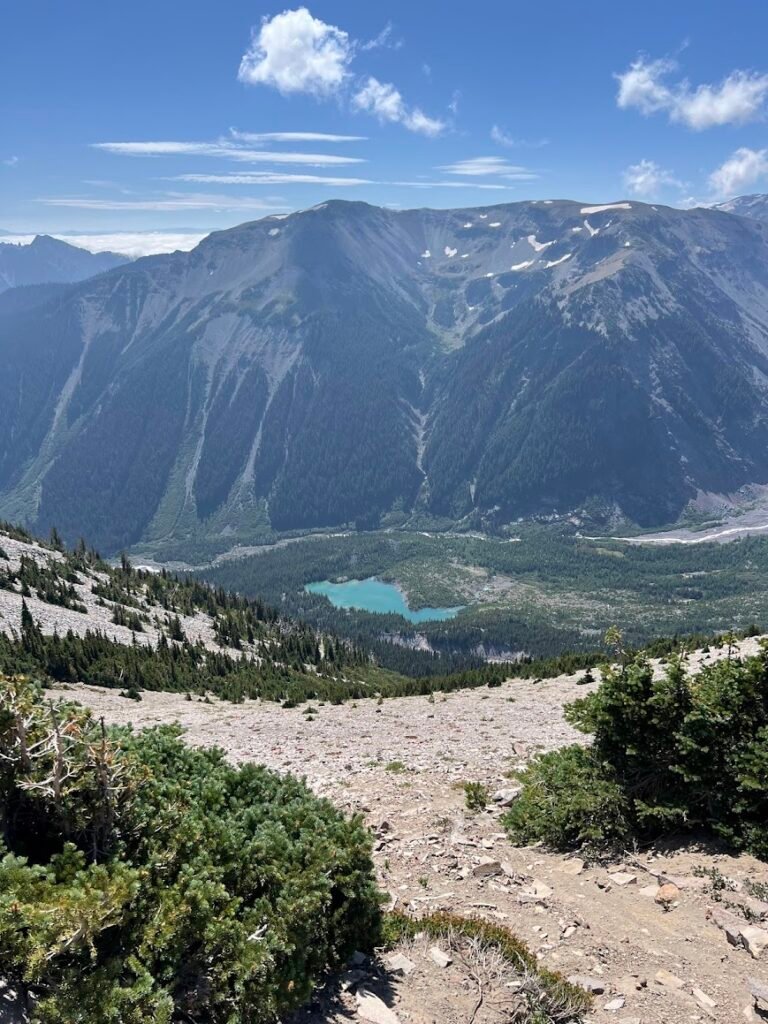
To get to the Third Burroughs we needed to hike downhill to a saddle and then up nearly 1,200 feet. The rocky top of Third Burroughs Mountain was worth the extra effort. We felt so close to Mount Rainier we felt like we could each out to touch it. It was only here that we could see the full glacier and lakes in the valley below. We took a nice long break savoring our lunch and the solitude. We were the only people out there!
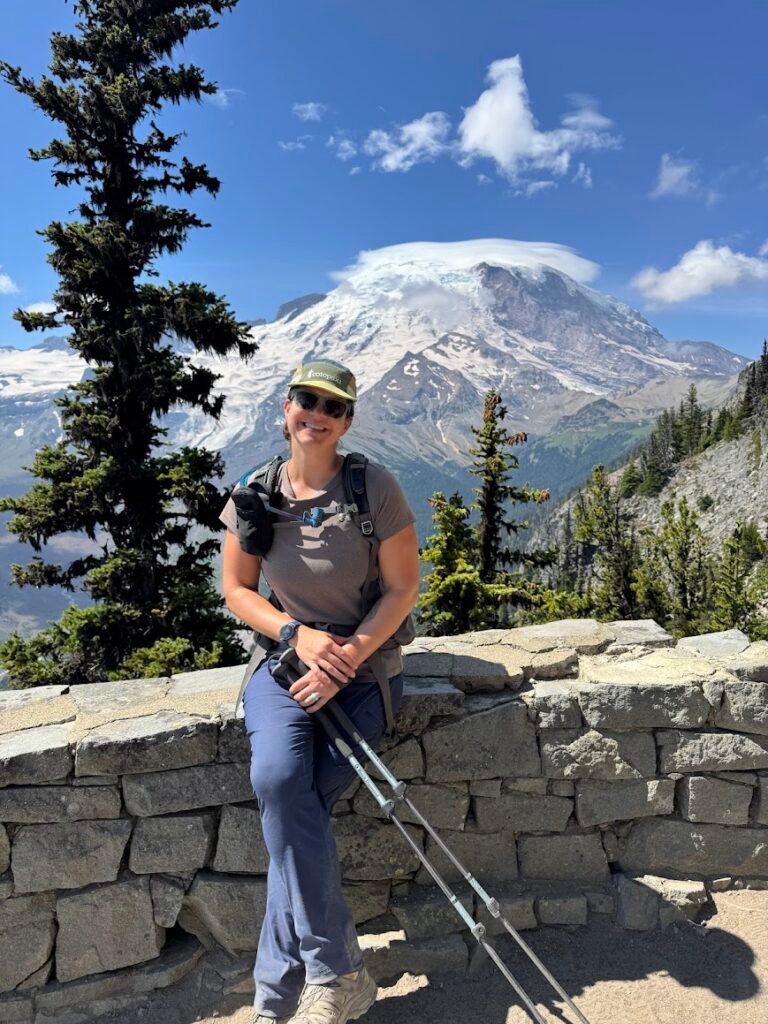
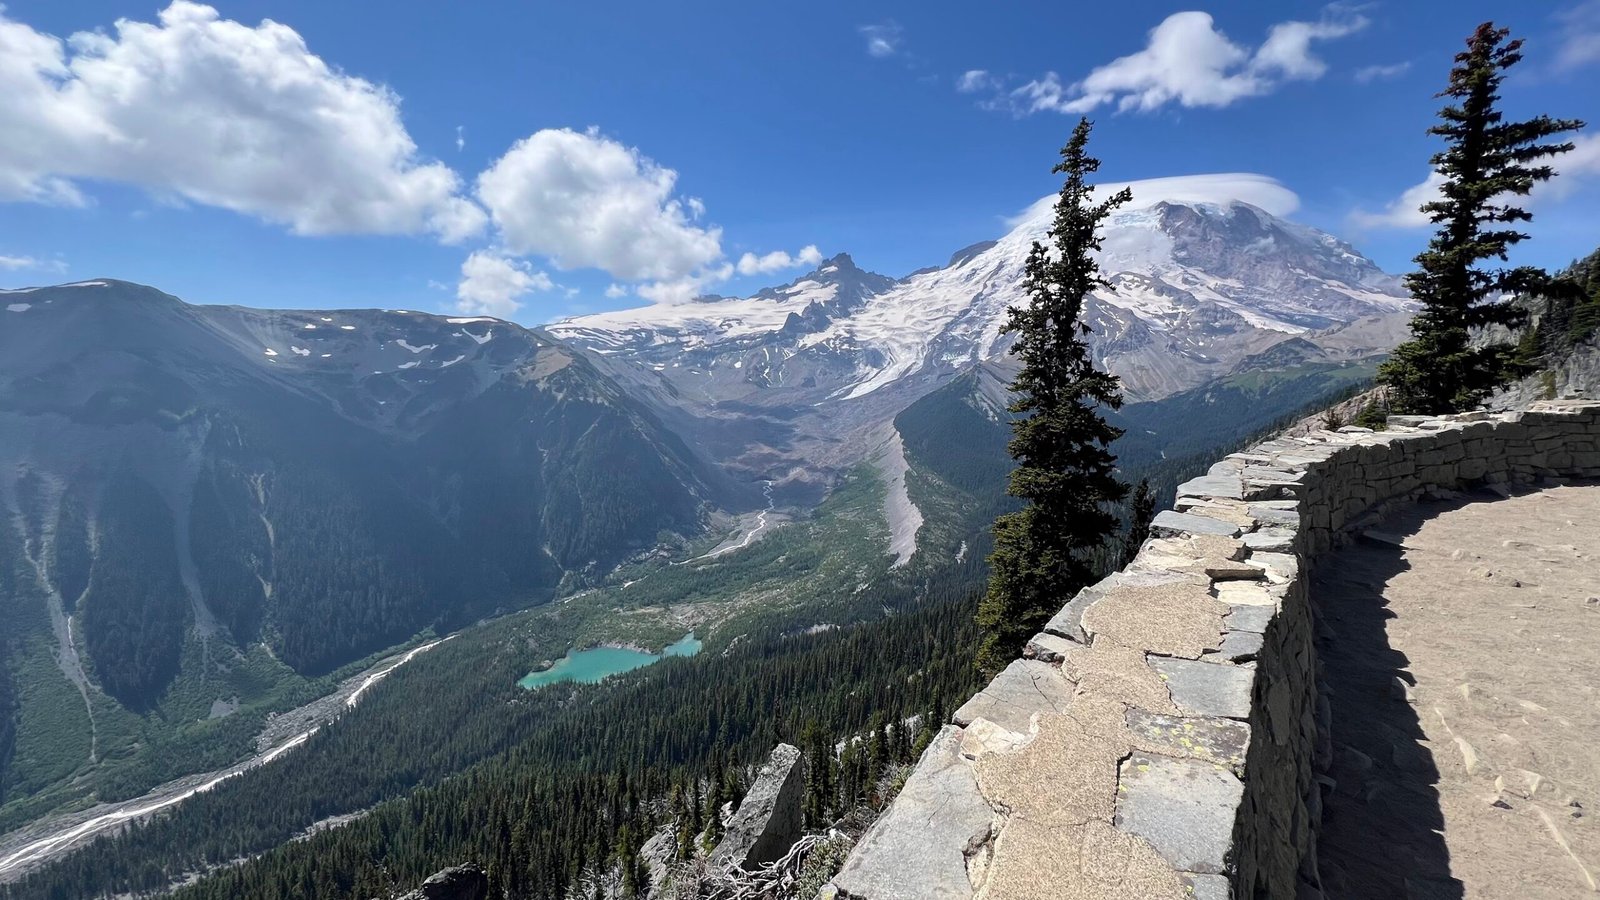
To complete our hike, we retraced our steps back over the Burroughs and then down the Burroughs Mountain Trail to make this a loop. Aside from Third Burroughs, one of our favorite views of Mount Rainier was from the Glacier Overlook on the trail on the way down. This area is home to a wide, stone viewpoint. When we stopped to admire the views we could see a lenticular cloud that had formed over Rainier throughout the afternoon hours.
Thanks to the blue skies and clear views, this ranks as one of our top mileage to views ratio hikes ever. We highly recommend putting this one on your list, even if you just hike out to Fremont Lookout, or one of the Burroughs. As outlined here, we hiked 12.6 miles, gained 3,180 feet of elevation, and took 6.5 hours.
Need to Know
Fees: Mount Rainier National Park charges a fee to enter. It is $30 per vehicle. If you will be visiting several national parks or national historic sites in a year, we highly recommend purchasing the $80 America the Beautiful Pass which is accepted at Mount Rainier National Park.
Parking: There is a large parking area at Sunrise.
Reservations may be required!!: To visit Mount Rainier National Park, you may need a permit or reservation, in addition to paying the park entrance fee. When we visited (in 2025) timed-entry reservations were required to enter the Sunrise Corridor between 7 am and 5 pm between July and September. Be sure to check the NPS website before your visit for the latest information on any reservation requirements.
Stay in Packwood
We stayed at an Airbnb in Packwood. Our little cabin was one of our favorite stays ever. Nestled in the woods, it was the perfect place to stay cozy and warm on a rainy day, and on fair weather days had an amazing porch where we watched elk wander through the yard. Although Packwood requires about an hour drive to most trailheads on this itinerary, we felt it was worth it for a comfortable stay in a town with amenities such as groceries, restaurants, and a brewery.
We ate all our meals at the Airbnb but did enjoy a quick stop for a pint at Packwood Brewing Co. on our way into town.
Day 2 | Hike Bench and Snow Lakes & Silver Falls
Hike Bench & Snow Lakes
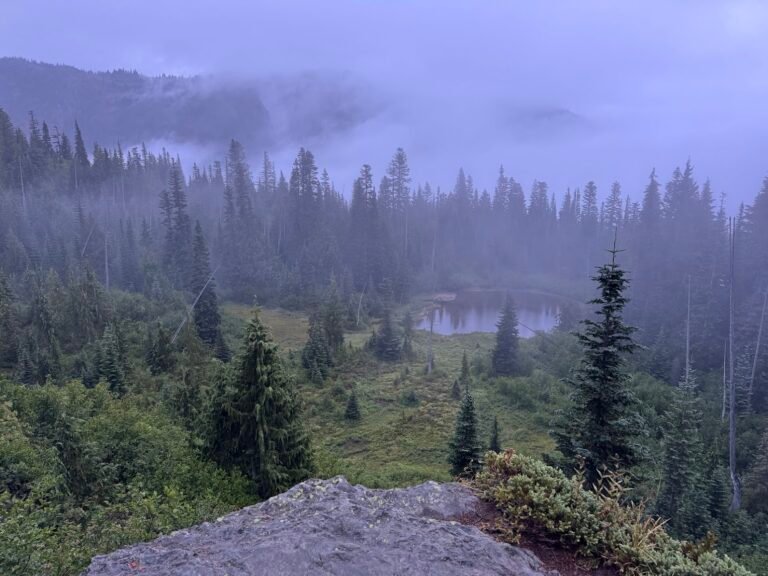
Despite poor weather (rain and mist) we set off on a relatively short and easy hike out to Bench and Snow Lakes. The trail to Bench Lake climbed fairly quickly through greenery, small some trees, and blueberry and huckleberry shrubs.
A small spur trail took us to the deserted shore of Bench Lake. This area is so named due to its position as a natural bench, a flat shelf of land created by a lava flow.
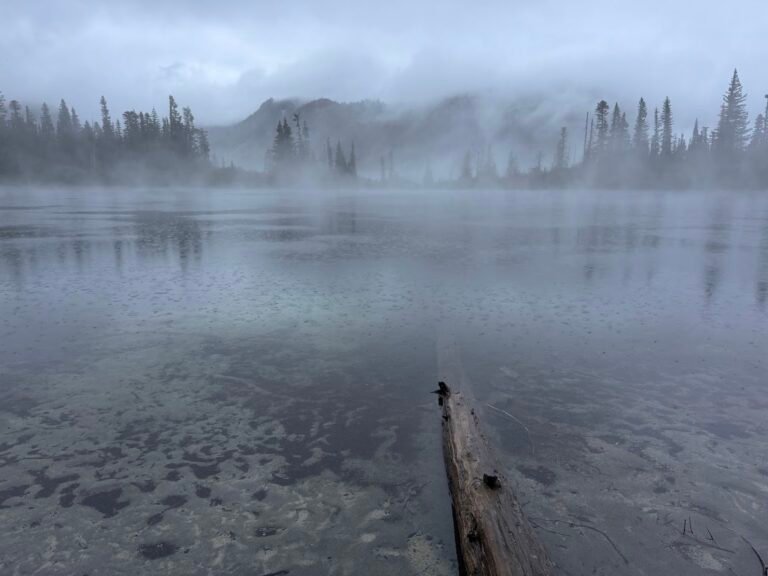
A bit further up trail we ended our hike in at Snow Lake. We saw the tents of some intrepid campers at the far end of the lake, which looked like a beautiful spot to spend the night under better weather conditions. This lake was particularly pretty, tucked as it was into the surrounding mountains of the Tatoosh Range and fed by snowmelt. By the time we reached our car we had hiked 2.75 miles in 1.5 hours, gaining 500 feet of elevation.
This was a good hike to do in rainy weather as tree cover kept us fairly dry. We bet this would be even better under clear skies, however, especially for reflection views in the lakes.
Need to Know
Fees: Mount Rainier National Park charges a fee to enter. It is $30 per vehicle. If you will be visiting several national parks or national historic sites in a year, we highly recommend purchasing the $80 America the Beautiful Pass which is accepted at Mount Rainier National Park.
Parking: Parking areas for this hike are available in small pullouts along the side of Stevens Canyon Road.
Hike Silver Falls Loop
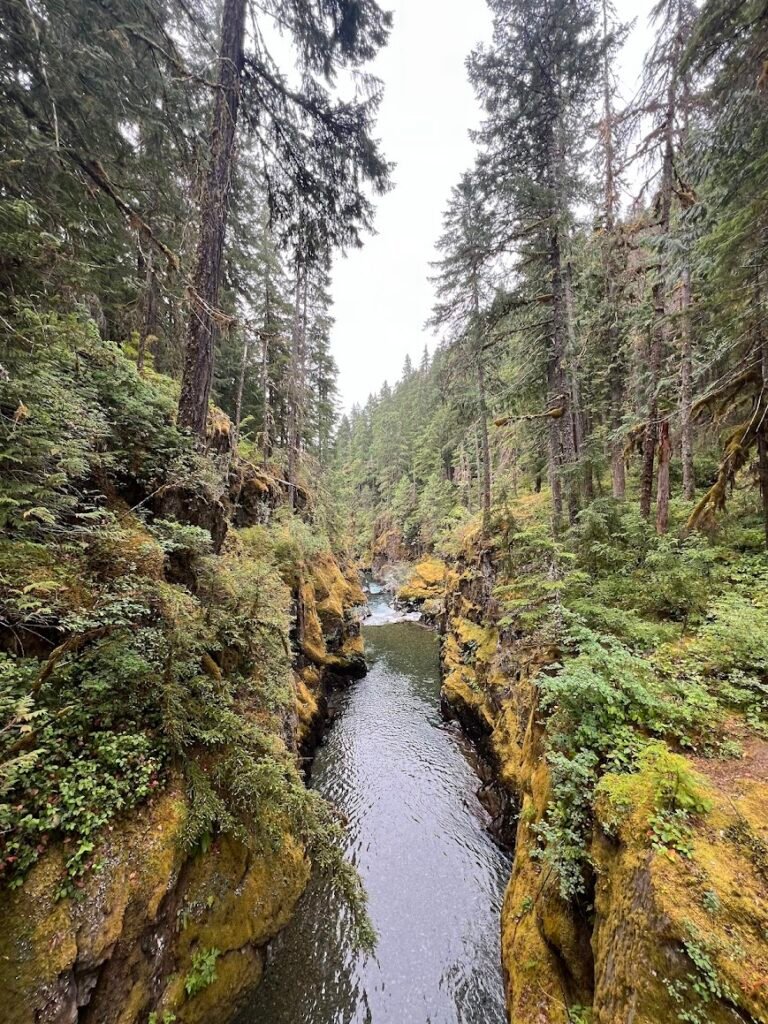
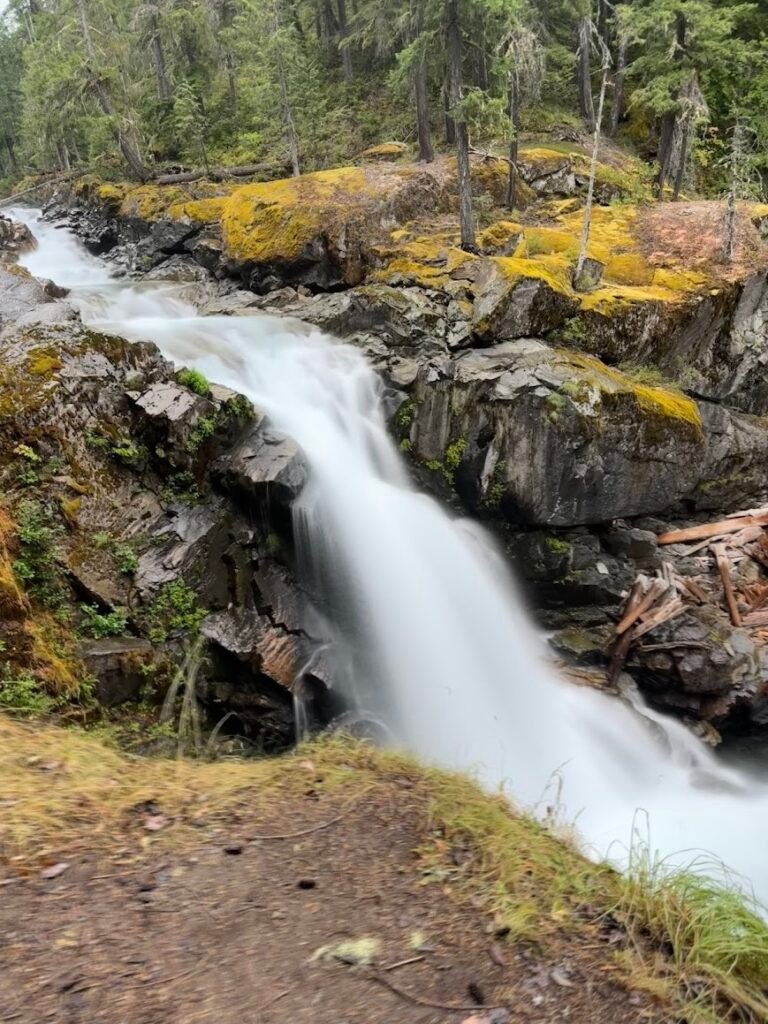
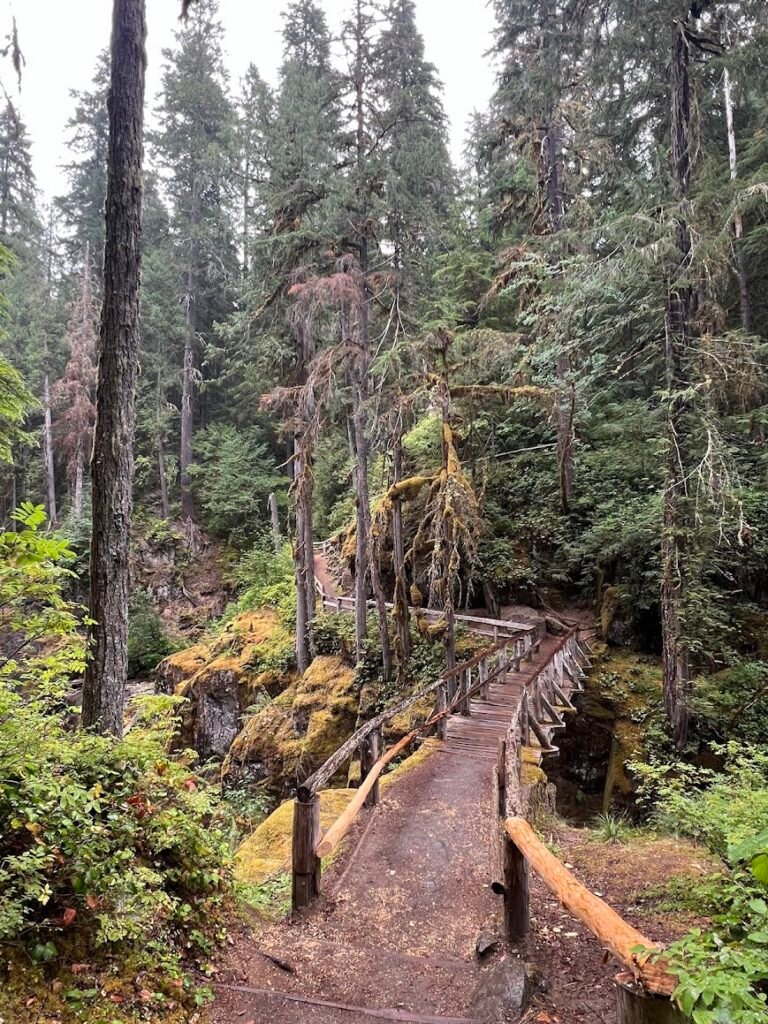
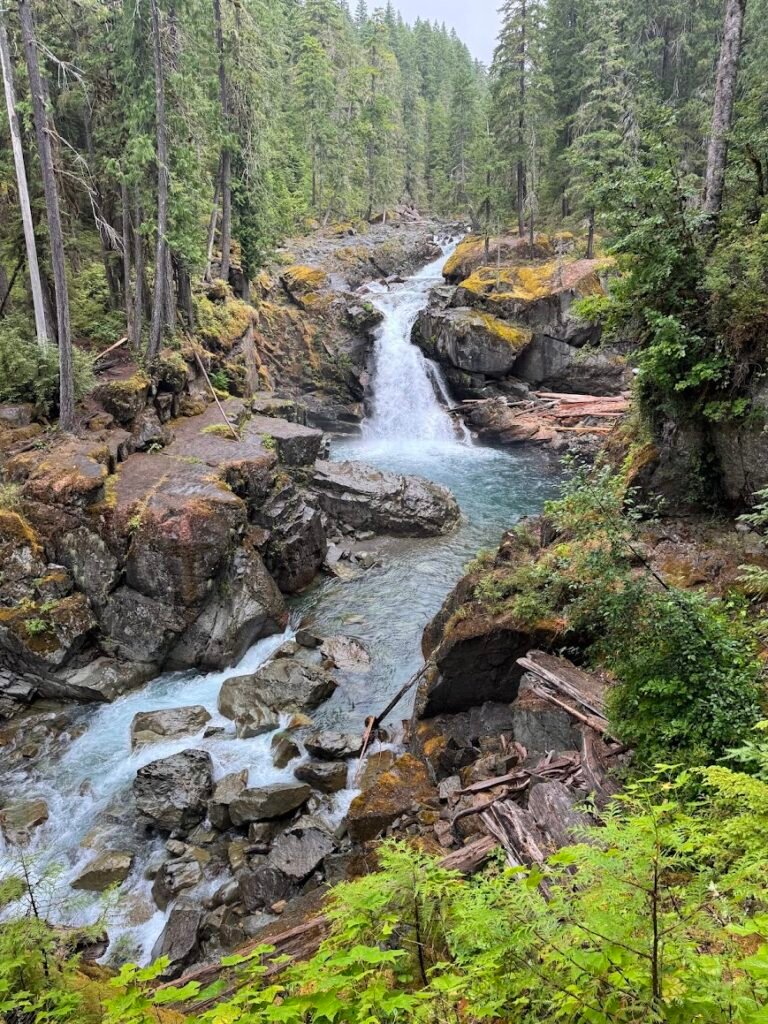
Hiking to Silver Falls is another great, short, rainy day hike. The trail took us upstream along the impressive Ohanapecosh River through a lush green forest. At the end of our loop, we crossed a log bridge over the river and reached the falls tumbling over a series of rocks. As the standard trailhead for this hike was closed, we had to detour off-route so our hike came in at 2 miles and 330 feet of elevation gain, taking us about one hour to complete.
Need to Know
Fees: Mount Rainier National Park charges a fee to enter. It is $30 per vehicle. If you will be visiting several national parks or national historic sites in a year, we highly recommend purchasing the $80 America the Beautiful Pass which is accepted at Mount Rainier National Park.
Parking: Due to the trailhead closures noted above, we parked in a small parking area off Stevens Canyon Road, just before the junction with WA 123. We then made our own out and back loop to Silver Falls.
Info & Current Status: When we visited (in 2025) the trailhead marked in the map above at Ohanapecosh campground was closed. Be sure to check the NPS website before your visit for the latest information on any closures.
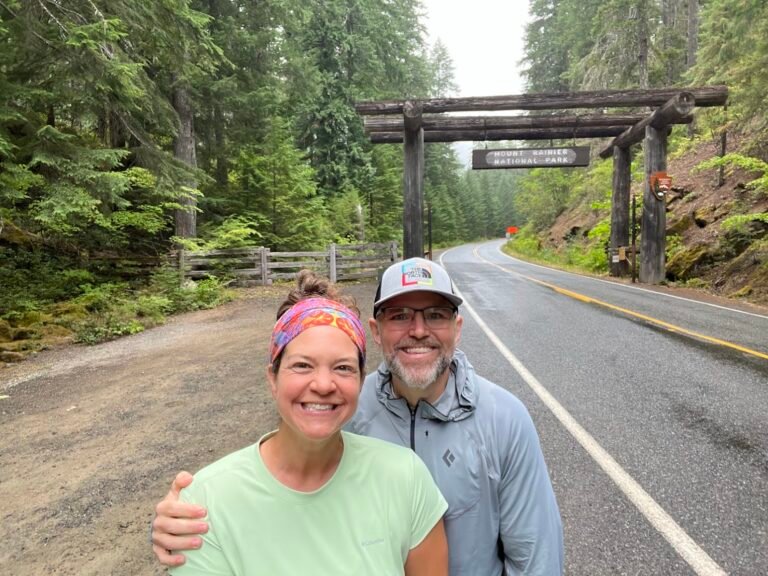
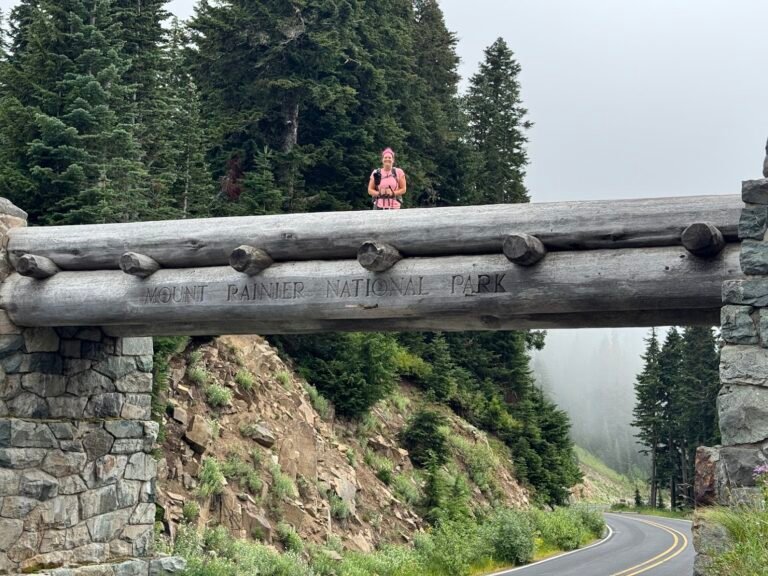
If you’re in the area of the Silver Falls hike, this is a great time to stop at the north entrance arch, Mount Rainier’s equivalent of a national park sign. This particular arch, located along SR140, was completed in 1977 and was the last entrance arch built in the park.
Day 3 | Summerland Trail & Naches Peak Hikes
Hike Summerland Trail to Panhandle Gap
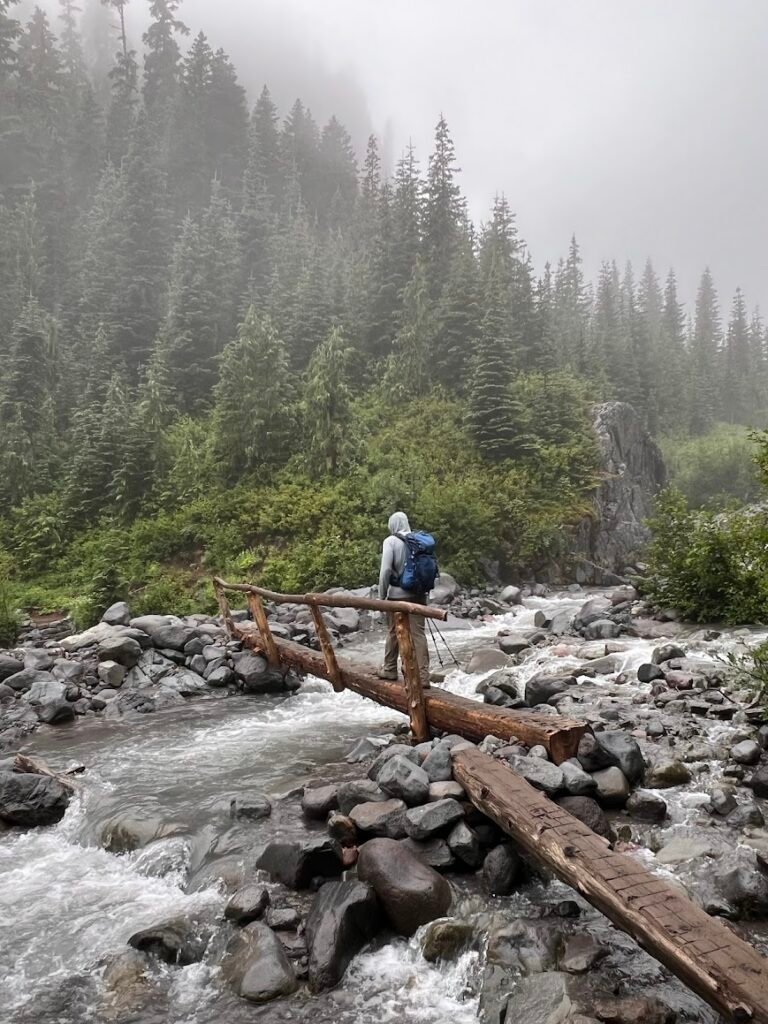
The Wonderland Trail is a 93-mile hiking trail that circumnavigates Mount Rainier in Mount Rainier National Park. We set out from the Fryingpan Creek trailhead to do a portion of this trail up to Panhandle Gap. Unfortunately the weather gods did not smile down upon us once again, but we still thoroughly enjoyed our day out.
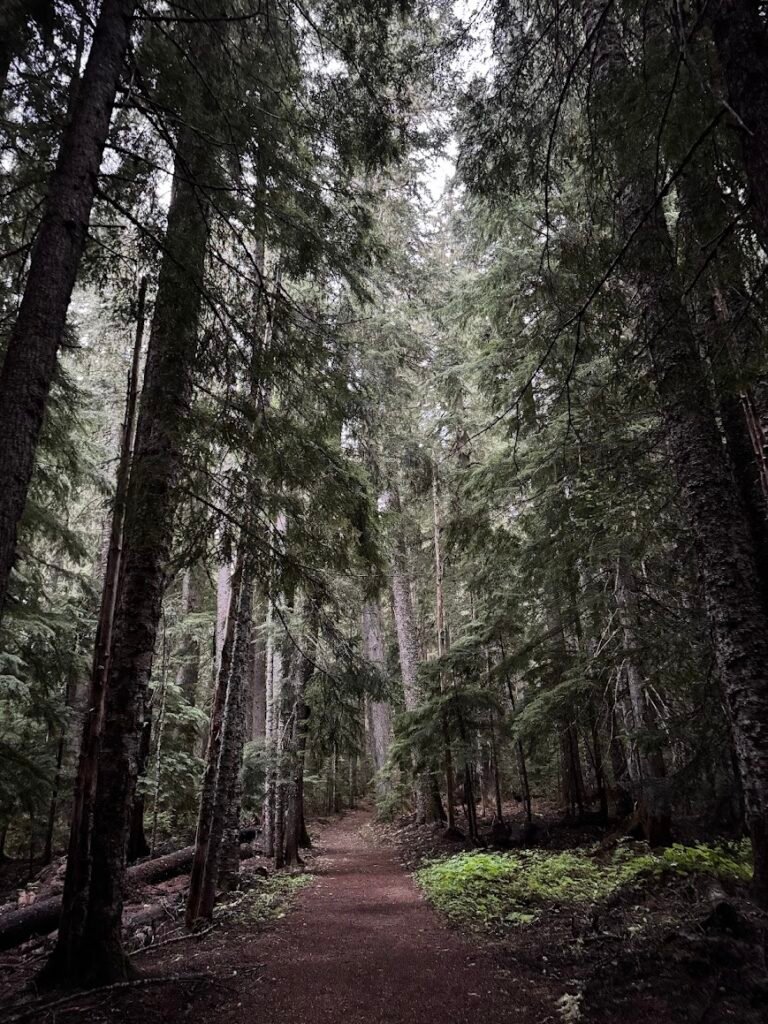
The trail began through an old-growth forest on a path that was so flat it almost lulled us into a false sense of security. There were several creek crossings to navigate with the use of bridges and then the trail began to climb more steeply up a series of switchbacks.
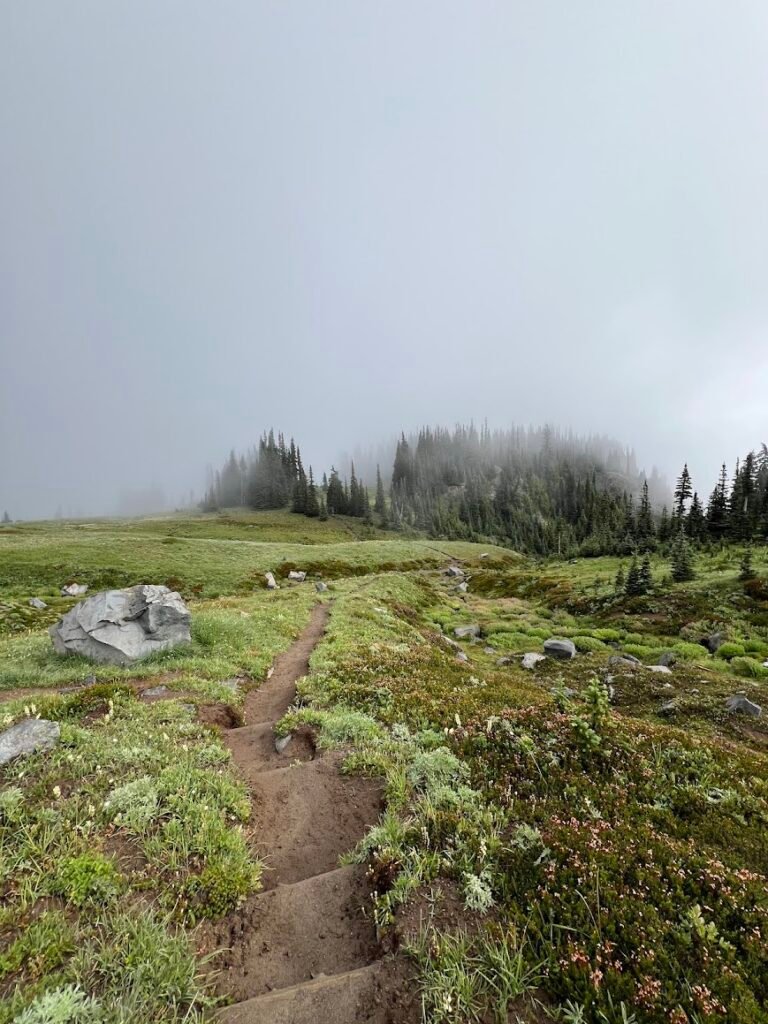
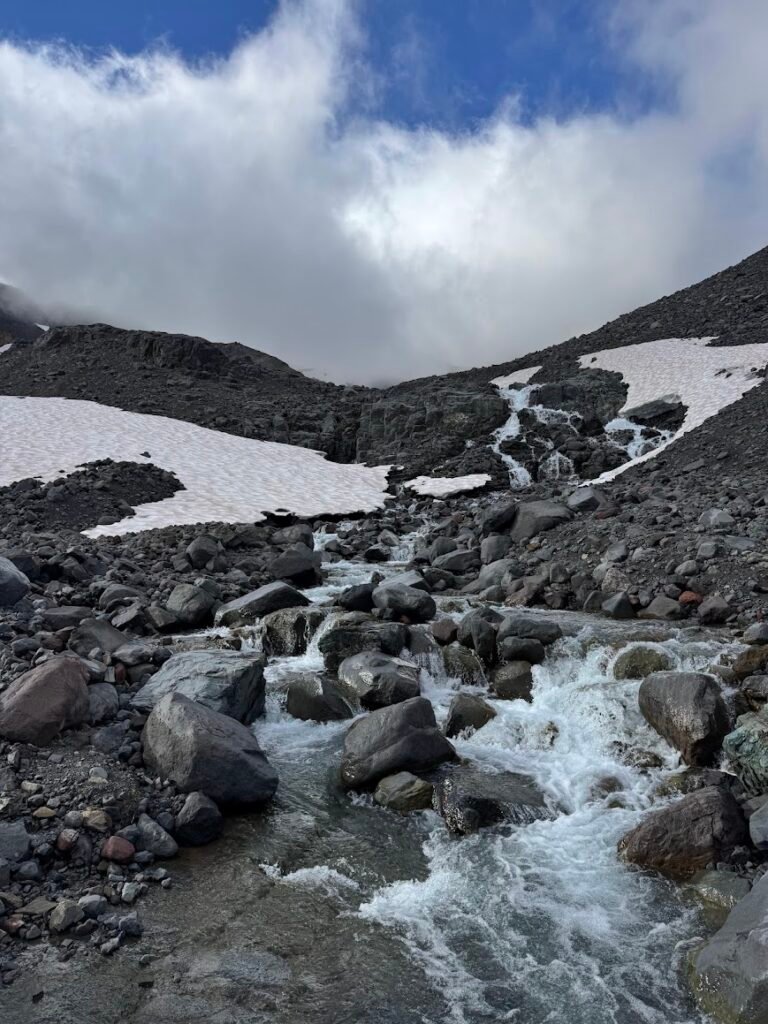
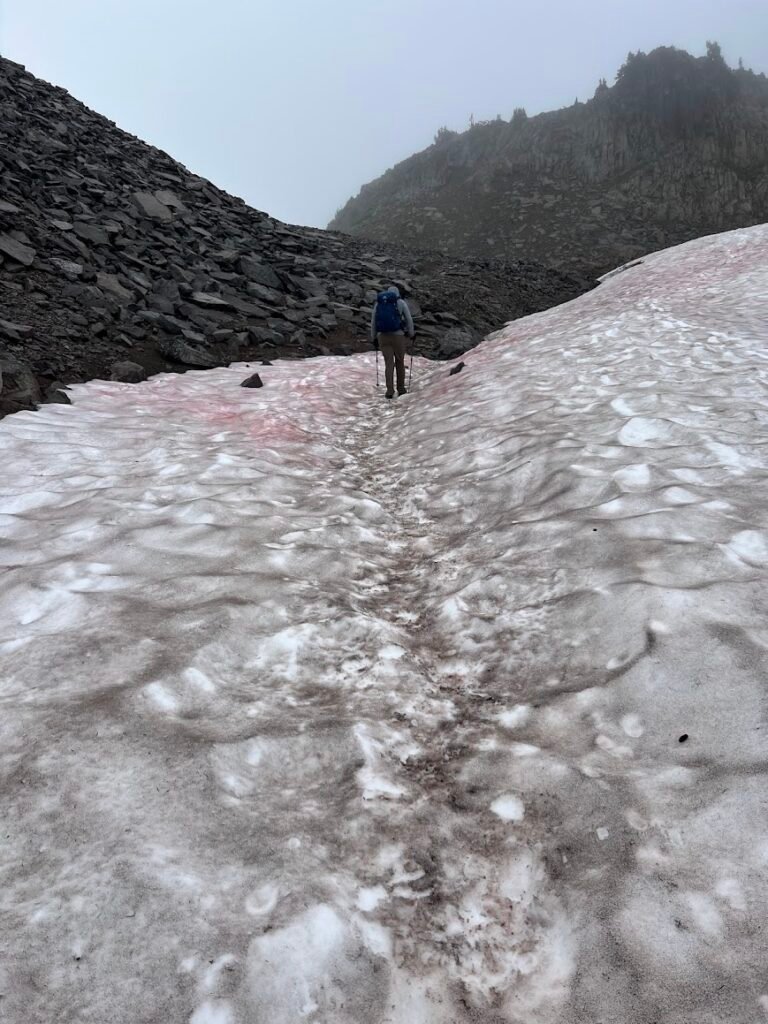
4 miles into the trek we reached Camp Summerland, set amongst a beautiful meadow of wildflowers. Here the clouds briefly parted as we paused for a snack and then pressed on. Turning one corner on the trail led us into a starkly different world. Instead of lush green meadows, we found ourselves hiking through a maze of black boulders and gravel, over the rushing melt water streams and snowfields.
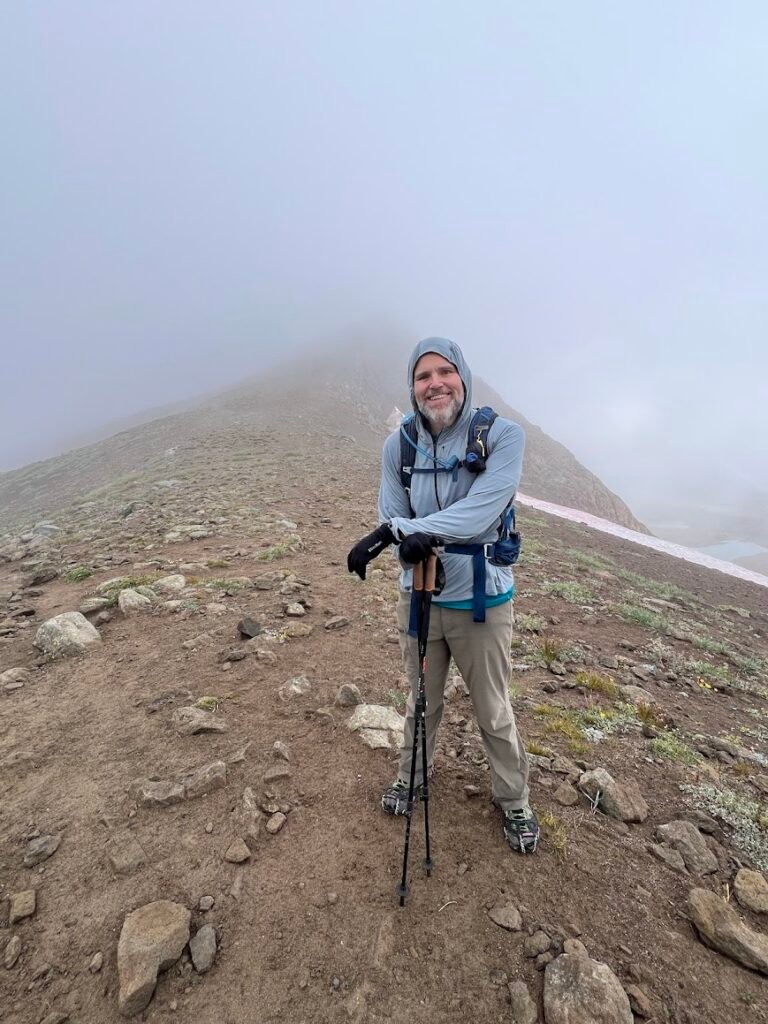
Despite hiking in August, as we approached the final push to Panhandle Gap, we put on our microspikes for extra traction up the slippery snow. There are reputedly views of Mount Adams and even Mount Hood in Oregon on a clear day, but we saw none of it! We waited around in the gap to see if the clouds cleared, but they never did so we headed down retracing our steps. We did catch a glimpse of mountain goats in the distance, one of the day’s highlights.
This was a long hike, at 12 miles and it took us 6.5 hours gaining 3,000 feet of elevation. We can only imagine what it would be like on a clear day!
Need to Know
Fees: Mount Rainier National Park charges a fee to enter. It is $30 per vehicle. If you will be visiting several national parks or national historic sites in a year, we highly recommend purchasing the $80 America the Beautiful Pass which is accepted at Mount Rainier National Park.
Parking: There is a small parking lot across from the Fryingpan Creek Trailhead located along Sunrise Park Road.
Hike Naches Peak Loop
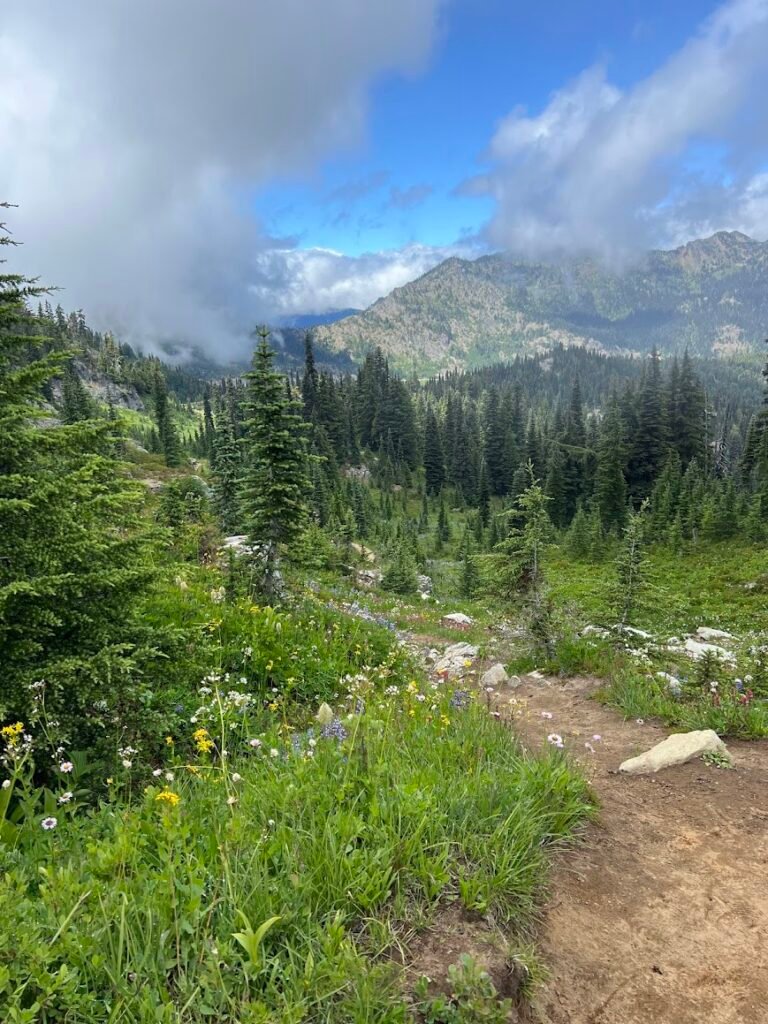
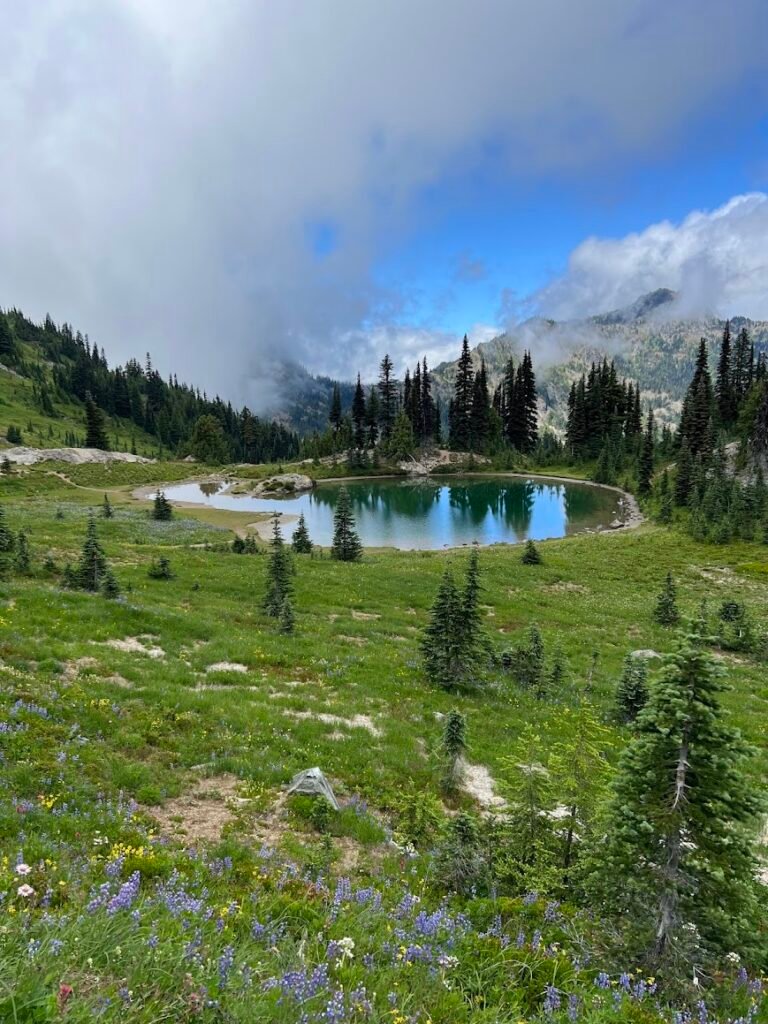
Craving one more hiking experience in Rainier, we drove towards Chinook Pass and parked near Tipsoo Lake. Although we began our hike under cloudy skies, blue soon began to peek out and felt like redemption for the past two days of poor weather.
This hike follows the Pacific Crest Trail on the northern flank of Naches Peak and the Naches Peak Trail on the southern flank.
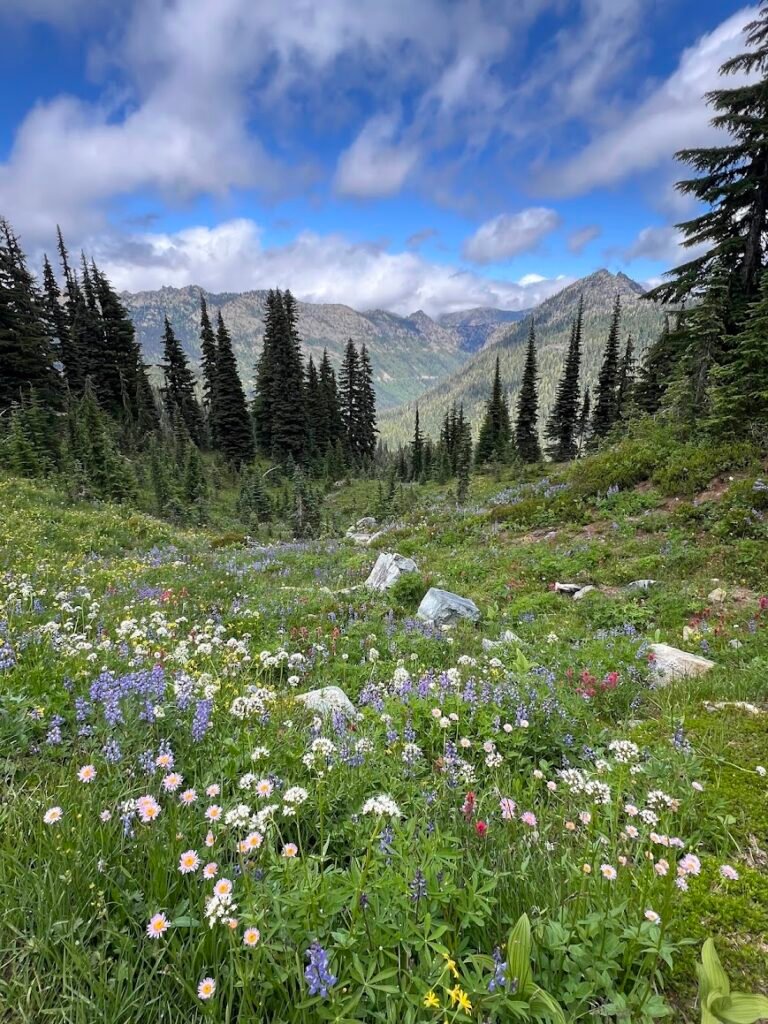
The highlight here were the wildflowers, some of the best we saw during our entire time in Rainier. We also really enjoyed the viewpoints over the small lakes. This hike took us 1 hour and 40 minutes, totaling 4 miles and 700 feet of elevation gain. A perfect ending to our time in Rainier!
Need to Know
Fees: Mount Rainier National Park charges a fee to enter. It is $30 per vehicle. If you will be visiting several national parks or national historic sites in a year, we highly recommend purchasing the $80 America the Beautiful Pass which is accepted at Mount Rainier National Park.
Parking: There are several small parking lots near the trailhead, as well as numerous designated parking spots along the Mather Memorial Parkway.
Pro tip!: While in the area, don’t miss having a look at the Chinook Entrance Arch. Built in 1936, it is designed in the NPS Rustic Architecture style using natural materials. 90 feet long, the deck of the bridge rests on two cedar logs and the stone abutments consist of irregular, mostly five-sided, stones gathered from the roadside.
How to Extend Your Time in Mount Rainier National Park
There were some additional activities and hikes we wanted to do in Mount Rainier National Park but weren’t able to due to some cold, rainy, and windy days with no visibility.
Hiking the Skyline Trail to Paradise Point is a quintessential day hike in Mount Rainier offering fantastic glacier views. We walked up the paved path to the Myrtle Falls viewpoint and turned around having gotten completely soaked. The full loop is about 5.5 miles and we definitely have this one on our list for next time.
If you want a break from hiking, consider taking a ride on the Mt. Rainier Gondola at Crystal Mountain. This scenic ride is supposed to have epic views of Mount Rainier and the Cascade Range.