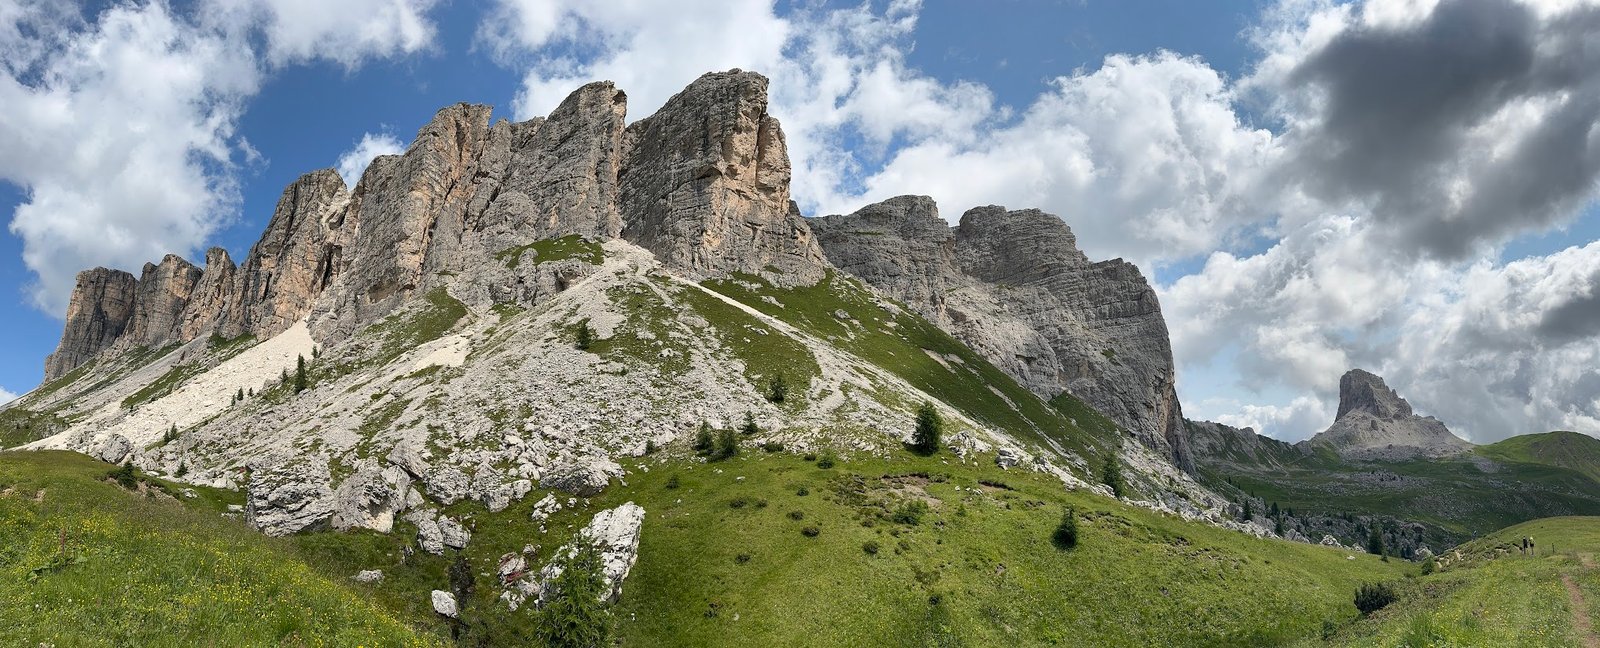
Stunning views at every turn and hundreds of interconnected trails of varying difficulty make the Dolomites in Italy a dream destination for hikers. While there are multi-day hut-to-hut hikes, when we visited in late July, we chose to base ourselves in Cortina d’Ampezzo for a week.
Nestled in an alpine valley (and future host city of the 2026 Olympic Winter Games), Cortina is the perfect base for exploring the eastern part of the Dolomites. Here we share 10 amazing day hikes you can easily complete using Cortina as a base. Happy trails!
Dolomites Hiking Map
1. Cinque Torri Circuit + Averau & Nuvolau Rifugios
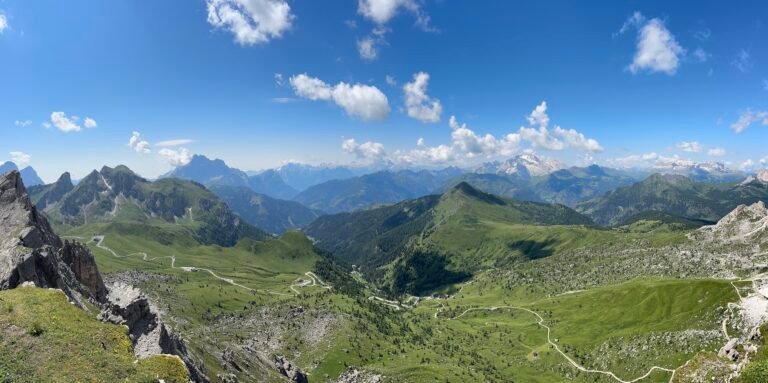
We can’t think of a better ratio of miles hiked and energy expended vs. incredible views in the Dolomites. After spending our first morning hiking here, we liked the area so much we actually came back on the last day of our trip!
The 5 Torri chairlift makes this hike incredibly accessible for anyone. Even if you don’t do any hiking at all, we recommend taking the chairlift to the Rifugio Scoiattoli at the top. They have a gorgeous seating area with very reasonably-priced and delicious treats. We had cappuccinos, mini-croissants, and an amazing pistachio cream-filled doughnut.
The version of the hike we did takes you around the base of the 5 towers. Look up for rock climbers! Along the way there is also an open-air museum where you can walk through trenches and read exhibits about the area’s use by the Italian army during World War I.
Although extra effort is required, we highly recommend making the trek up to Rifugio Averau and then on to Rifugio Nuvolau. Walk beyond the building at Nuvolau out to one of the best views in the Dolomites.
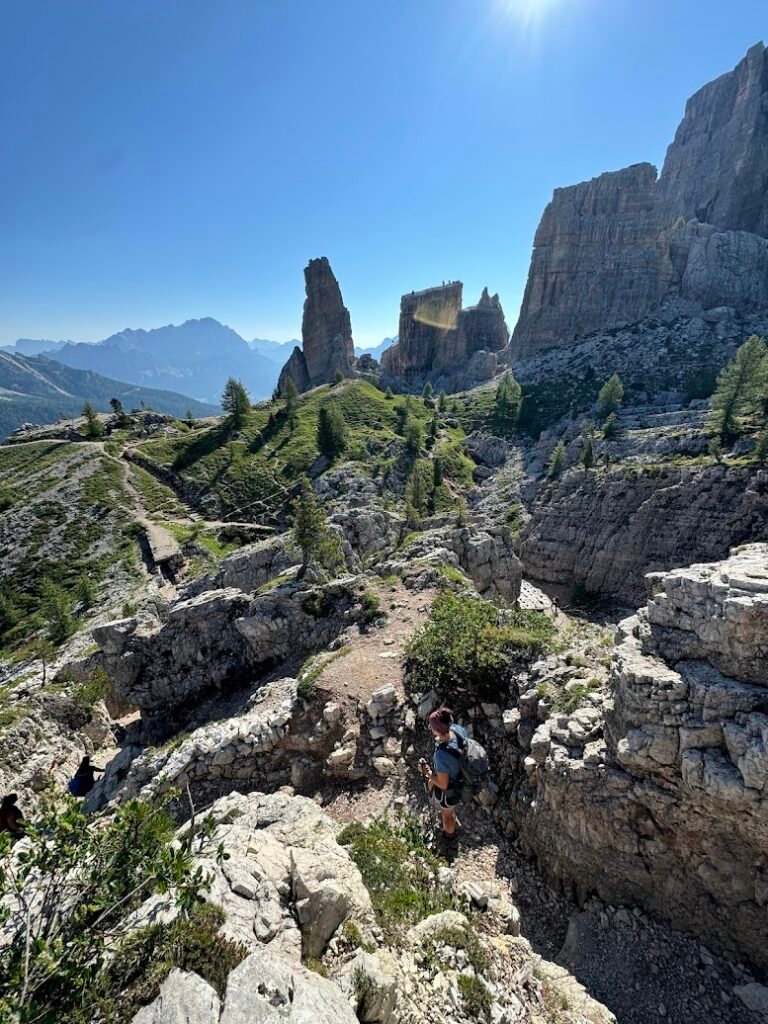
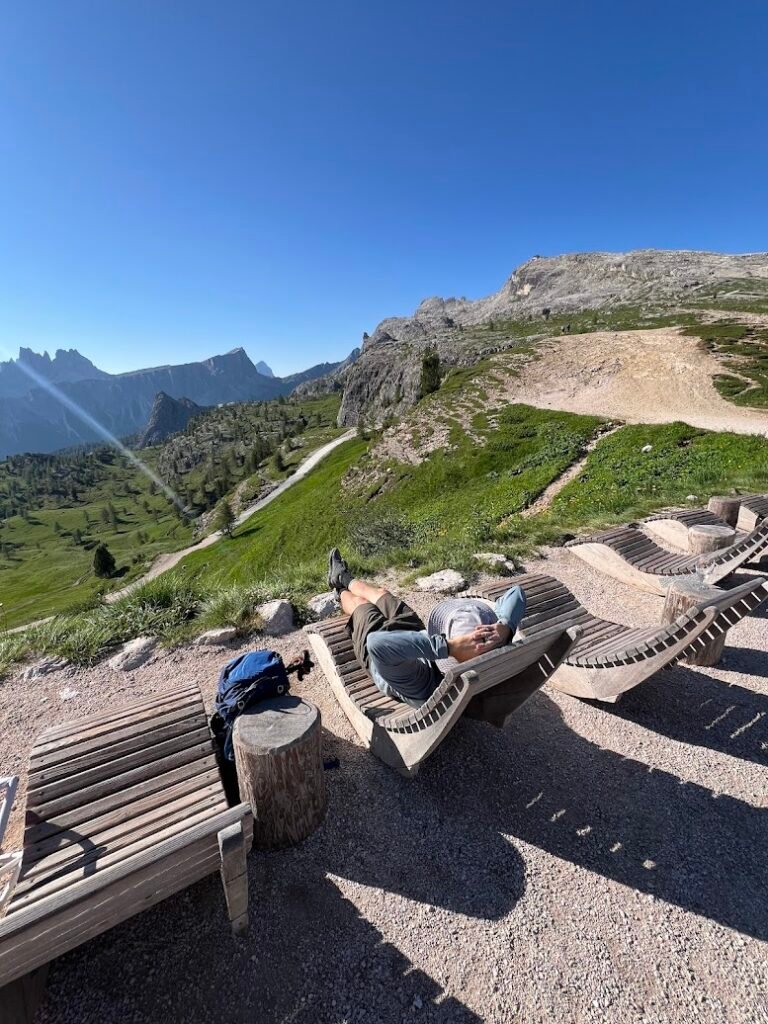

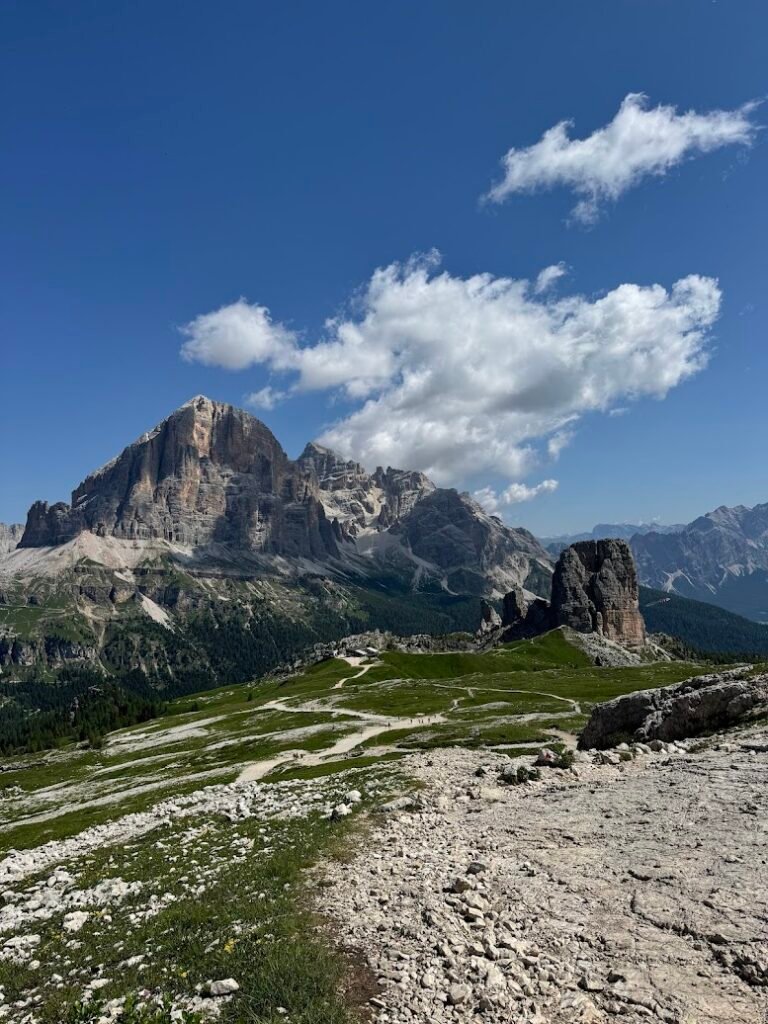
Note: The hike to Rifugio Nuvolau is well way-marked, but must be added on to this AllTrails map to complete the circuit suggested.
Hike Details
- 4.5 miles | 1,270 feet elevation gain | 3 hours to complete
- Drive to the location listed as "Seggiovia Cinque Torri" on your map which is the chairlift base. This was about a 25-minute drive from where we stayed in Cortina.
- There is a large, free parking lot, or if that is full there is parking nearby along the road.
- No fee for trail use. The 5 Torri chairlift was €26 for an adult roundtrip ticket. The first run up was listed as 9am on their website, but when we arrived at 8:45am on a Sunday the lift was already running.
2. Monte Mondeval & Croda da Lago Circuit
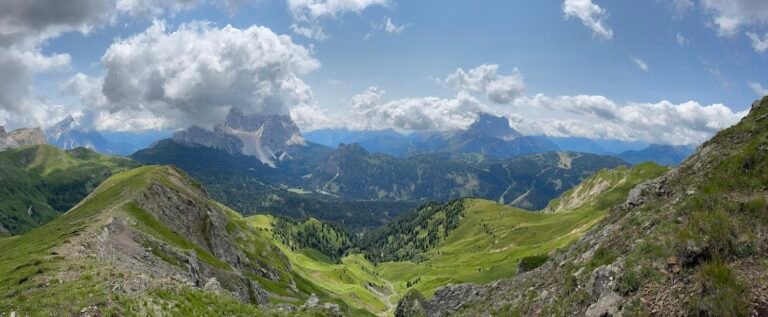
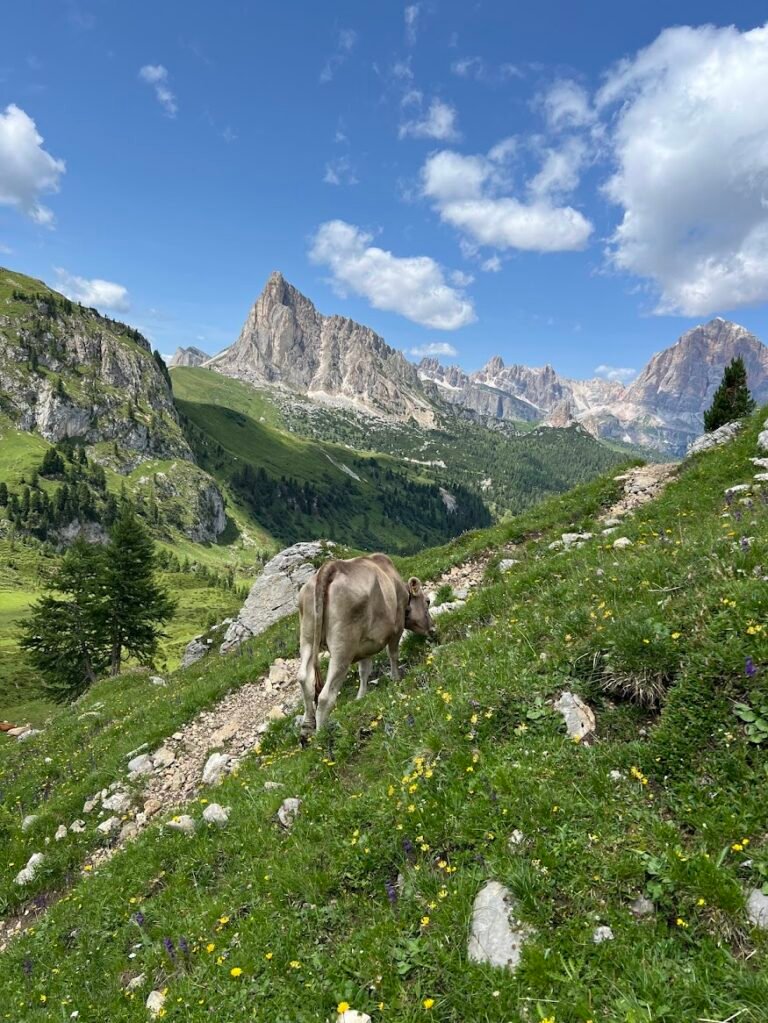
This was one of our absolute favorite hikes in the Dolomites. While it’s a long day, you get to sample the best of what makes hiking in this region so special. A trek through alpine meadows, a lake, a rifugio serving delicious coffee and cakes, and a mountain summit. We were surprised at how low the crowd levels were too.
The hike starts at Passo di Giau, gently descends into the valley, then climbs sharply to Forcella di Giau. Since Mondeval was socked in early in the day, we first hiked to Forcella Ambrizzola. Along the way, be sure to check out the exhibit at the location where the skeleton of a hunter dating back 7,500 years (dubbed “The Mondeval Man”) was discovered in the 1980s.
At the top of the pass, we added on a 3-mile out-and-back detour to Croda da Lago. While the lake wasn’t the most stunning we’d seen in the Dolomites, the rifugio was one of our favorites. We sipped on cappuccinos and shared slices of apfelstrudel and a hazelnut cake. Pro tip – get the whipped cream! It was seriously the best of any place we ate sweets in the Dolomites.
Once back at the top of the mountain pass, we continued the loop and hiked up to the summit of Monte Mondeval for stunning 360-degree views. Once down, we retraced our steps back to the car, dodging cows and even horses blocking our path. Even if you just do part of this hike to Monte Mondeval and back, it would be a great day out.


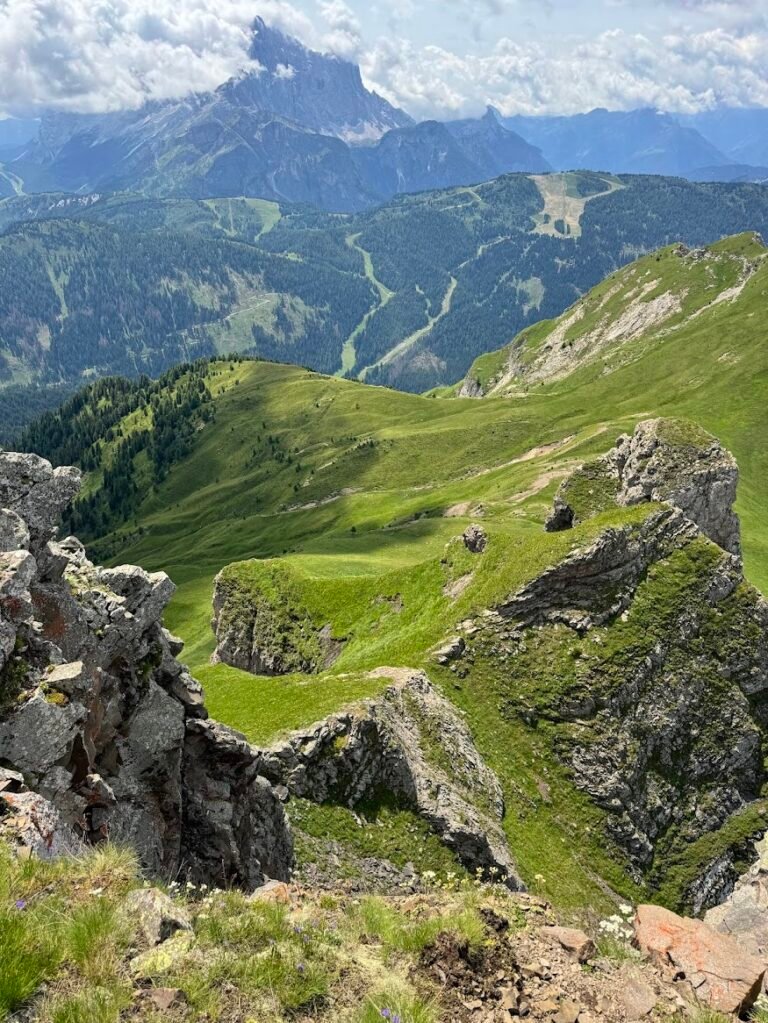
Note: The hike to Croda da Lago Rifugio is well way-marked, but must be added on to this AllTrails map to complete the circuit suggested.
Hike Details
- 12 miles | 3,573 feet elevation gain | 7.5 hours to complete
- Drive to the location listed as "Parcheggio Passo Giau" on your map. This was about a 30-minute drive from where we stayed in Cortina.
- There are many free designated parking spots along this section of the road near Passo Giau. If these are full, there is also parking along the road, on the shoulder, further away from the trailhead.
- No fee for trail use.
3. Vallunga Valley to Sas da Ciampac & Rifugio Puez Circuit
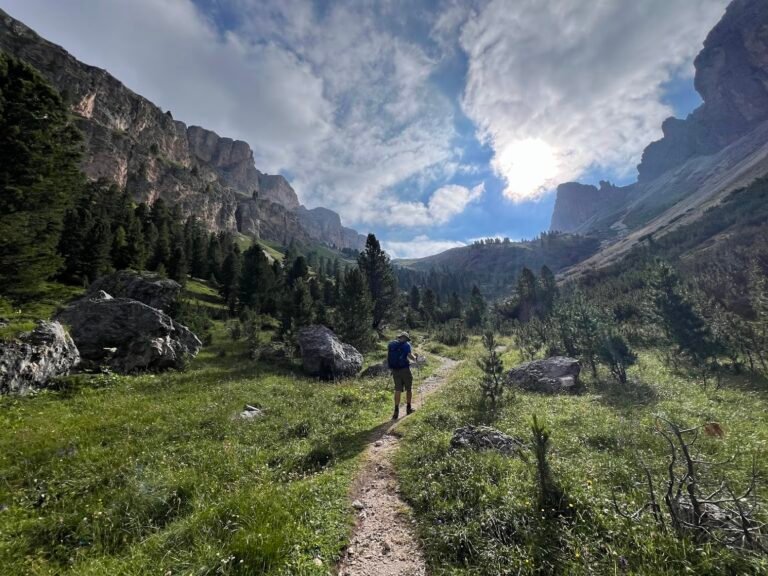
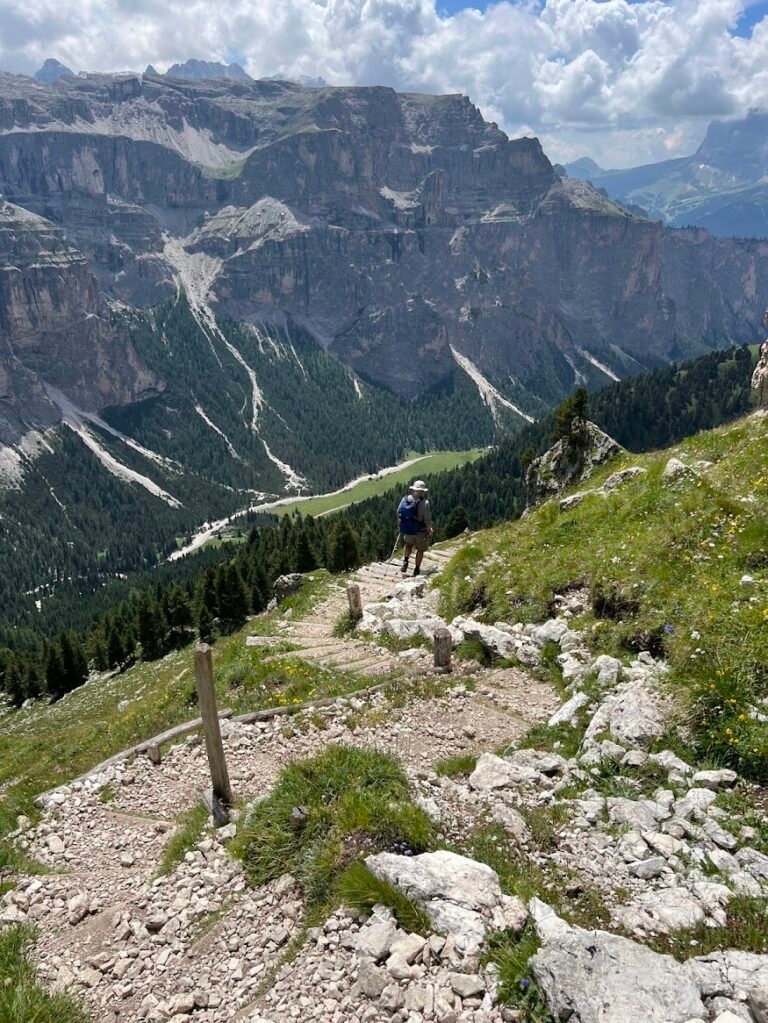
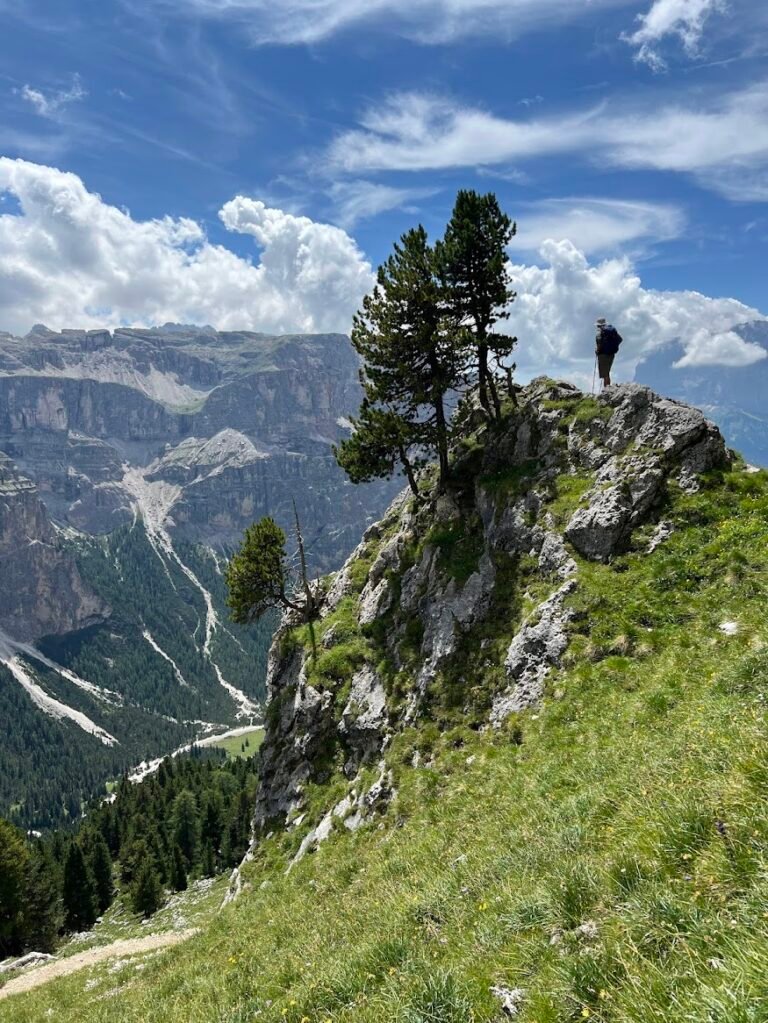
Although this hike is a bit farther afield from Cortina, we think it is well worth the drive which in and of itself is beautiful, traversing several high mountain passes. Located in Selva di Val Gardena, the hike begins in the picturesque Vallunga Valley. We did this loop hike counterclockwise, electing to go up steeply for the first 4 miles or so, but have a longer, gentler descent.
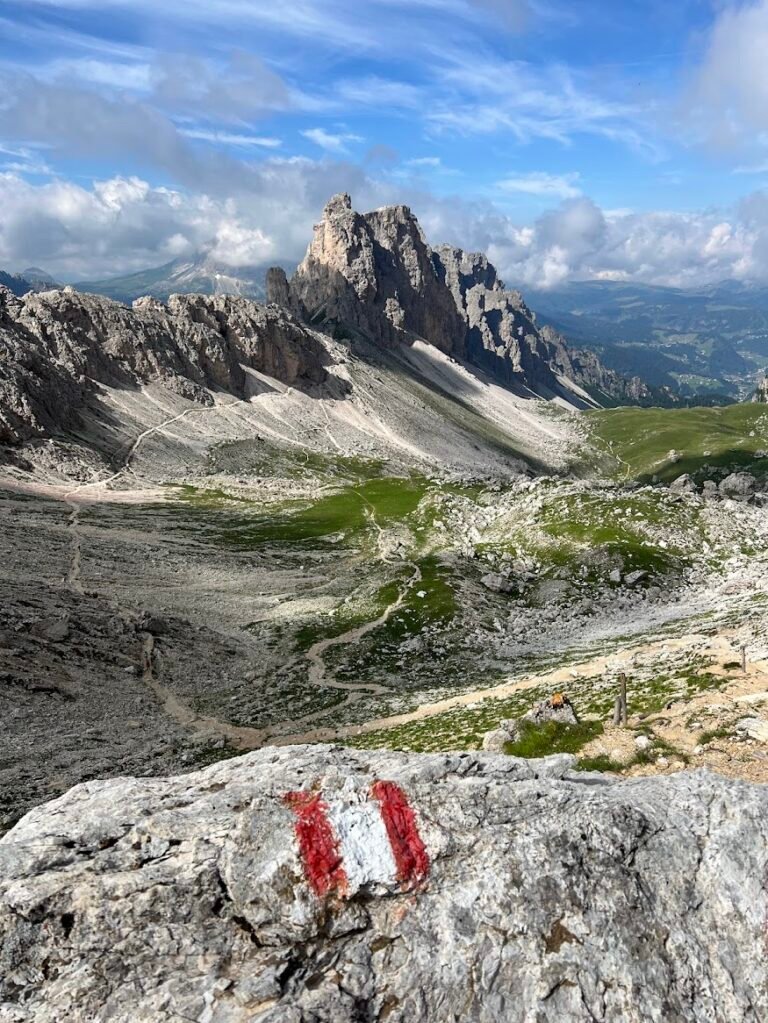
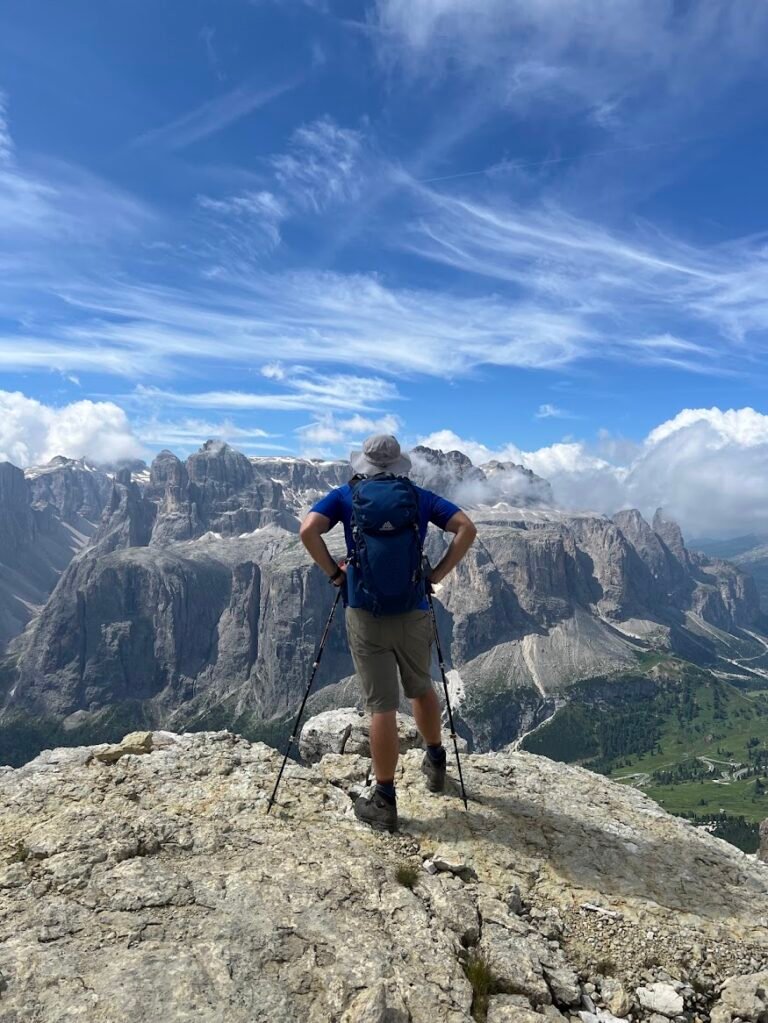
The initial part of the hike was mostly in the woods but soon the views opened up and we made it to the top of the first pass at Jëuf de Crespëina. From there, the trail continues on to the top of Sas da Ciampac, where at 8,500 feet in elevation you’re treated to outstanding views of the valleys below and neighboring glacier-capped mountains near and far.
The undulating path then took us to Rifugio Puez where it’s worth climbing up the viewpoint behind it (look for the flagpole) for a different perspective. We ate our packed lunch nearby and then headed down making the long descent back through the valley and to our car.
There wasn’t a bad view during any step of this hike, putting it in our top 3 hikes while in the Dolomites. Many people shorten this hike by either hiking out-and-back to Rifugio Puez, or taking a cable car from Selva to cut off the steep ascent and/or descent. Once again, no matter what you choose we think you’ll enjoy a day in this area.
Note: While this map has the route going clockwise, we hiked counterclockwise to ascend steeply and descend more gradually.
Hike Details
- 10.75 miles | 3,848 feet elevation gain | 6 hr 45 min to complete
- Drive to the location listed as "Parcheggio Vallunga" on your map. This was about a 1-hour 30-minute drive from where we stayed in Cortina.
- There are several large, paid parking lots. We parked in the one right next to the trailhead and paid €8 at the automated kiosk to park for the day.
- No fee for trail use. See paid parking above.
4. Tre Cime di Lavaredo Circuit + Cadini di Misurina Viewpoint
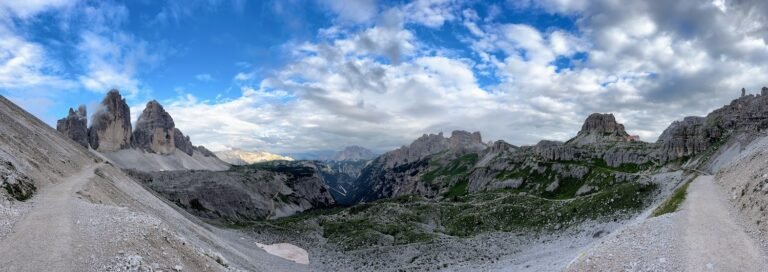
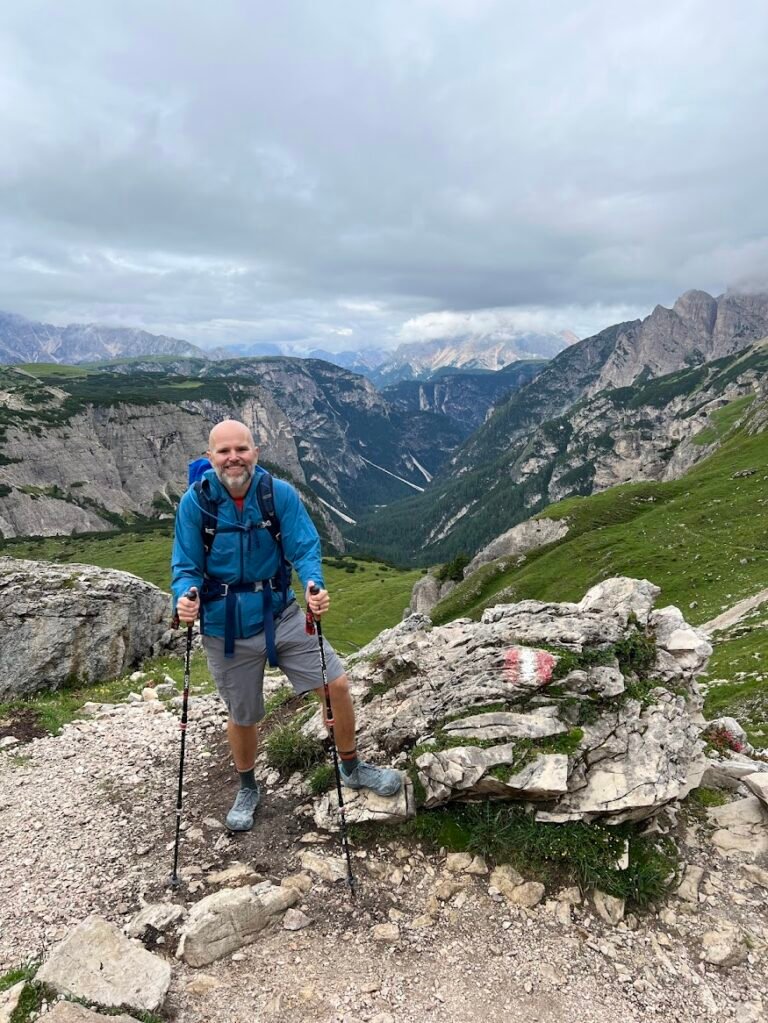
The hike around Tre Cime is routinely ranked as among the best day hikes in all of the Dolomites. While we personally didn’t think the views were as stunning as the first 3 hikes on the list, it’s still a great day out in the mountains, even if you don’t have perfect weather (like on the day we visited).
This loop takes hikers around the iconic, towering jagged peaks so you get to see them from all different perspectives. Setting out counterclockwise, the first landmark reached is the church, Maria Ausiliatrice, where we recommend the short detour directly opposite, out to a great viewpoint. The light here early in the morning is ethereal.
Hiking past Rifugio Lavaredo the views of the towers become more impressive, and continue to do so as you approach Rifugio Locatelli. Speaking from experience, if the weather turns poor at this point, it’s a great place to stop for a hot drink and apfelstrudel! Behind the rifugio is another detour we’d recommend, where you’ll see no one else but hike to viewpoints above several alpine lakes hidden from view (Lago dei Piani).
The loop continues on through a gorgeous valley. When we visited there were cows grazing everywhere! The path returns to the starting point via the Col Forcellina. If you have the energy, instead of stopping at your car we recommend heading out to the Cadini di Misurina viewpoint for more amazing views.
The trail is short, but steep. Unfortunately for a us, a rainstorm rolled in very quickly and we got caught in a downpour on the way back. Hopefully you’ll have better luck, but the views were still worth the trek.
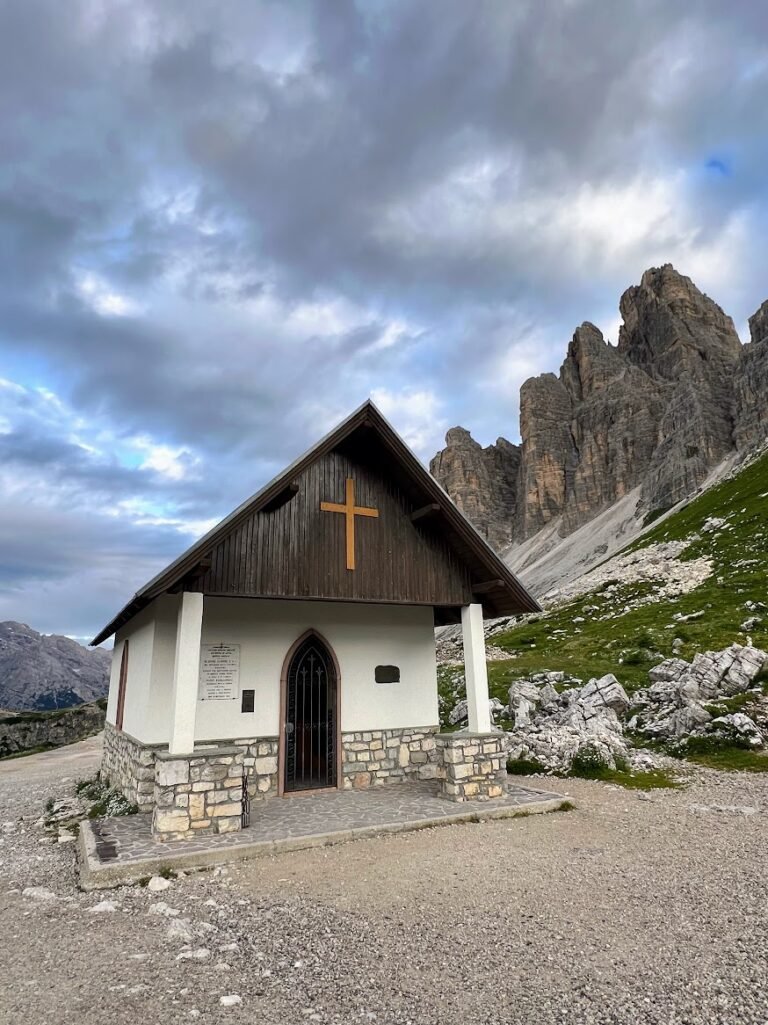


Note: This map does not include several of our recommended add-on detours along the Tre Cime hike including 1) to the viewpoint directly across from the church, Maria Ausiliatrice, ~0.5 miles into the trail, and 2) the trail behind Rifugio Locatelli which takes you past hidden alpine lakes (Lago dei Piani). These added 1.8 miles total to the circuit.
Hike Details
- 10 miles | 2,392 feet elevation gain | 5.5 hours to complete
- Drive to the location listed as "Parcheggio Auronzo" on your map. This was about a 40-minute drive from where we stayed in Cortina.
- Before you reach the large parking lots next to Rifugio Auronzo, you will reach a toll booth to pay for parking. When we passed through at 5:45am, no one was manning the booth so we took a ticket and had to stop and pay on the way out. Otherwise, there should be someone at the booth to collect your payment. Parking is €30 for 12 hours. Note: During the busy summer season, get here early!!! We can't stress this enough. Parking is routinely completely full by 8am, even during the week, and cars are turned away.
- No fee for trail use. See paid parking above.
5. Lago di Sorapis Circuit
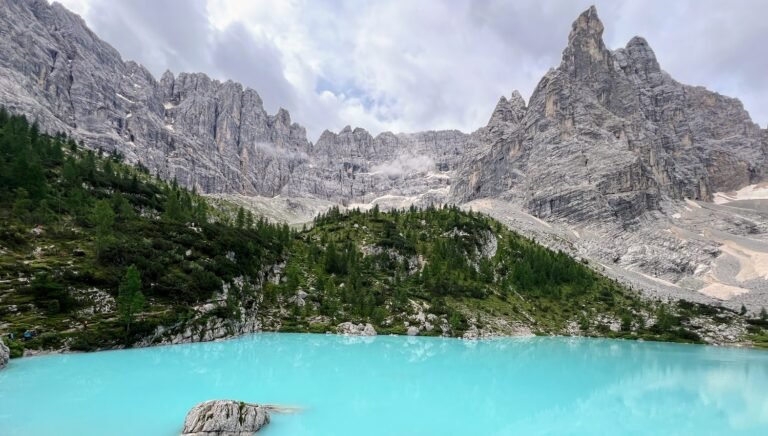
In full disclosure, we have a love hate relationship with this hike. The milky blue lake is absolutely gorgeous and making the hike into a loop, passing over Forcella Marcuoira, was exciting and challenging. It was also the most crowded day hike we have ever been on. For this reason, we recommend:
- Starting as early as you can, but by 7am is ideal in the summer months.
- Go clockwise! This route will take you to the lake first, and then when everyone else is heading back the same way, or just making their way to the lake, you’ll set off towards Forcella Marcuoira where you’ll see only a handful of other people.
We hiked counterclockwise, so the morning started off with a blissfully peaceful, but hard hike up to the mountain pass. There are short, but steep bursts of scree you’ll need to navigate but they are manageable if you take your time. Along the narrowest part of the trail which hugs the cliffs, there are cables you can hold on to for extra security, but they hardly seemed necessary.
After the mountain pass, the trail began its down climb and we got our first glimpses of the lake in the distance. There was some scrambling involved in this down section, but at last we made it to the lake where it was positively crawling with people now that it was nearing midday. We hiked a loop around the lake and also sat on a rock and ate a snack. This is a great place to just relax and enjoy the view.
We then began the second half of the trail which is quite narrow in places, requiring only one-way traffic. With the crowds, this is very slow going and hikers had varying degrees of hiking etiquette, so it can be frustrating. The views are beautiful on this side of the mountains too, so don’t forget to look up.
Again, we would definitely recommend this hike as a loop. Be prepared for it to be a beautiful hike, just one without solitude!
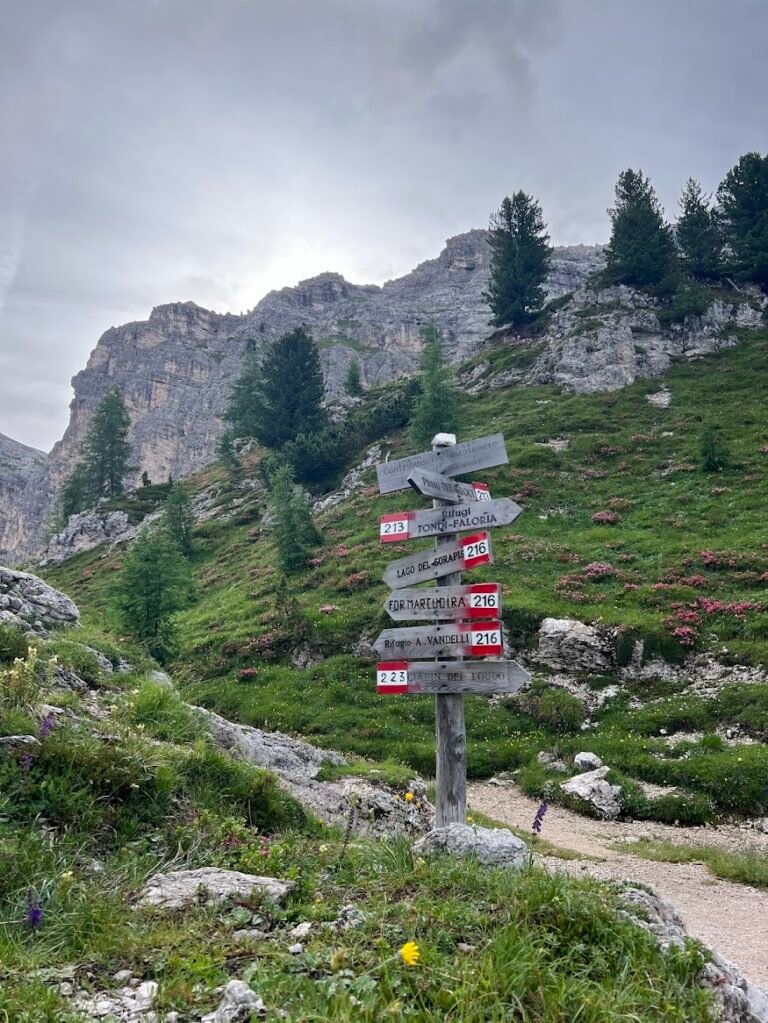
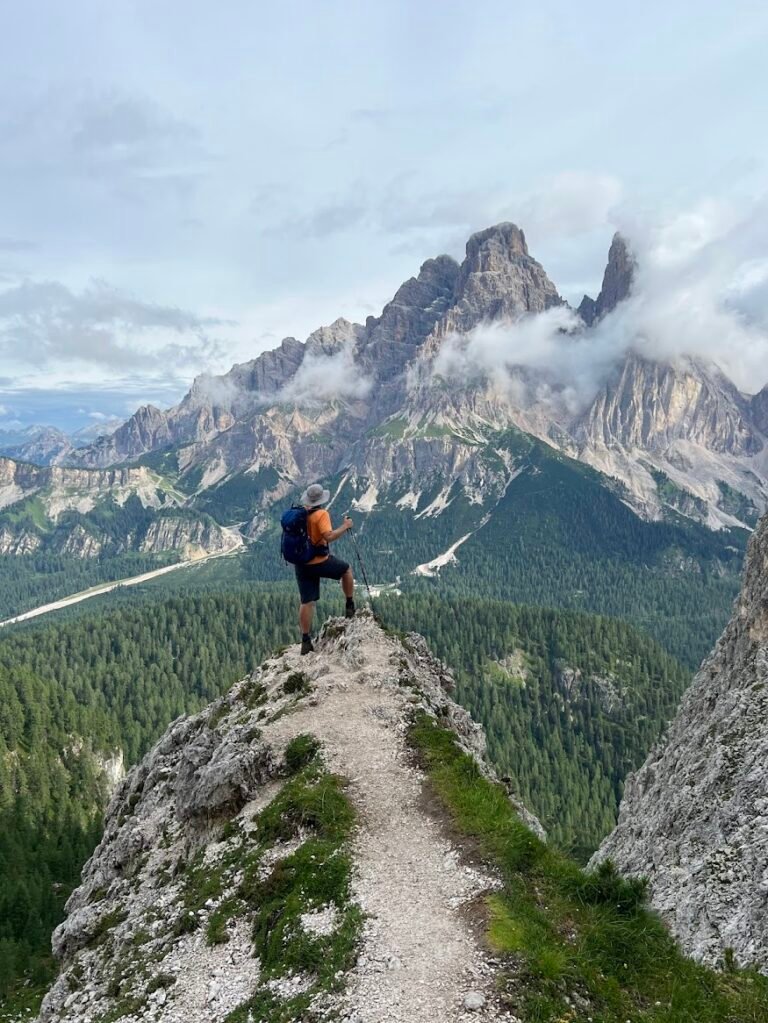
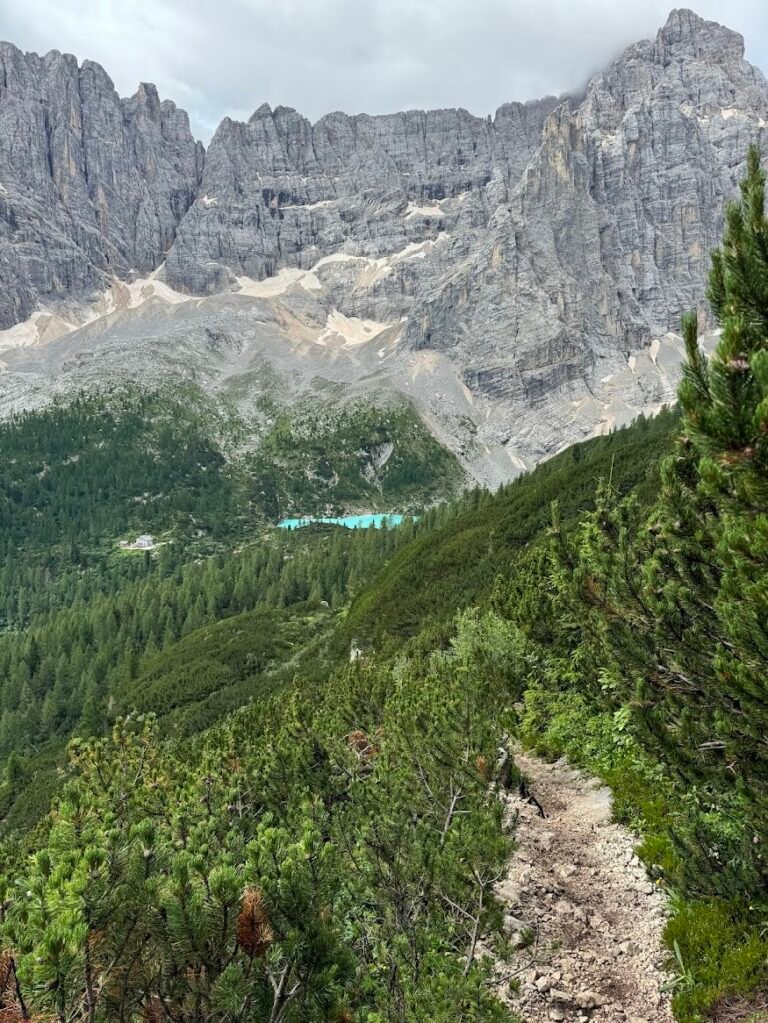

Note: We highly recommend to hike this route clockwise, heading to the lake first thing in the morning to avoid the worst of the crowds.
Hike Details
- 9 miles | 3,143 feet elevation gain | 6 hours to complete
- Drive to the location listed as "Misurina – Passo Tre Croci" on your map. This was about a 20-minute drive from where we stayed in Cortina.
- Parking is only available close to the trailhead on the shoulder of the road. You can use the B&B Hotel Passo Tre Croci Cortina as a landmark, although their parking lot is for guests only. You'll know you're in the right place when you see dozens of other cars, even early in the morning!
- No fee for trail use.
6. Falzarego Pass via the Frontline Trail

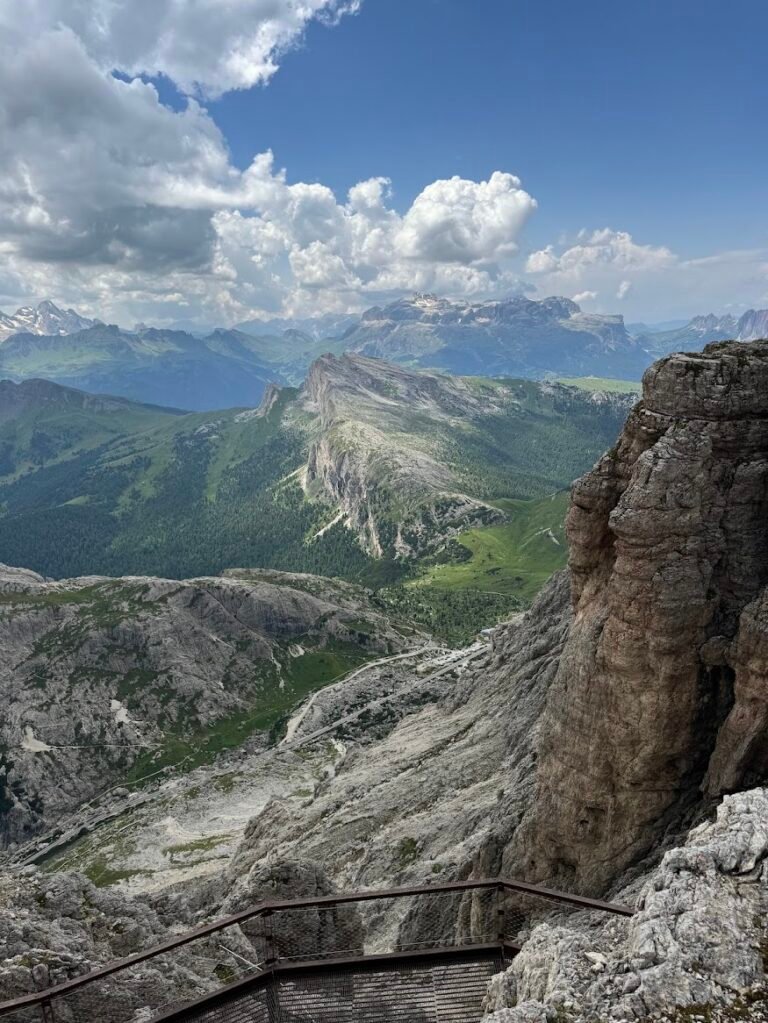
This hike along the Frontline Trail begins at Rifugio Lagazuoi where there are panoramic views of the surrounding mountains. To get here, while you can hike, we recommend instead being whisked up the mountain by the Lagazuoi cable car. Since the hike is all downhill, this is a nice add-on hike to an easier day. In fact, we did this in the afternoon after spending the morning hiking around Cinque Torri.
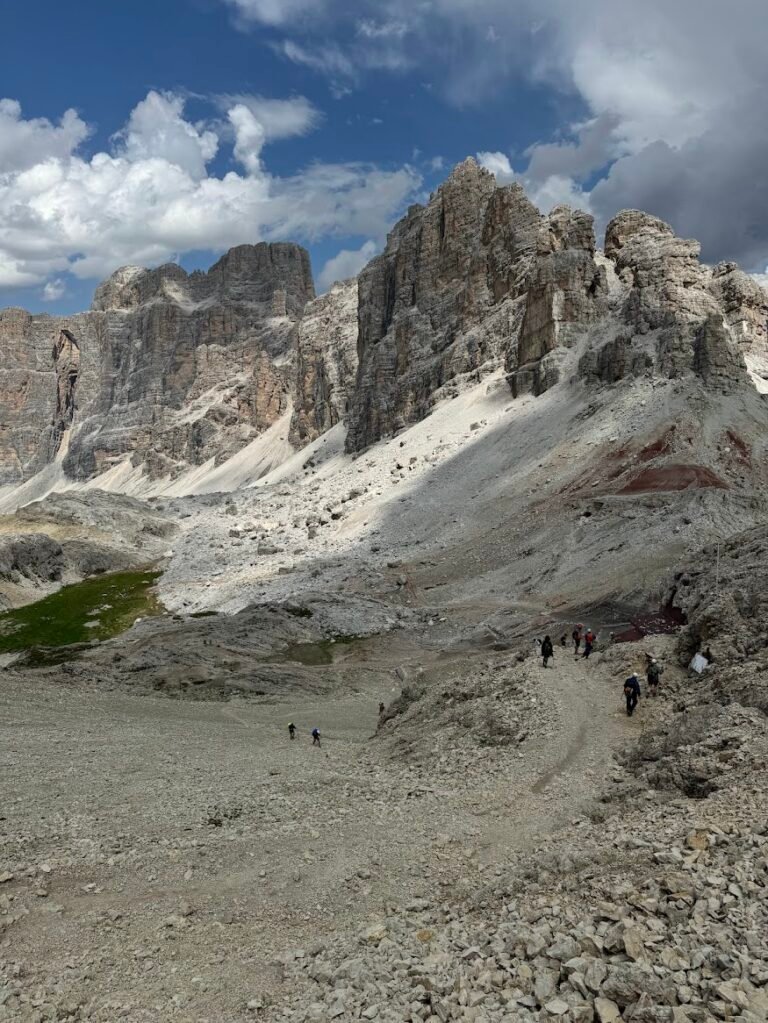
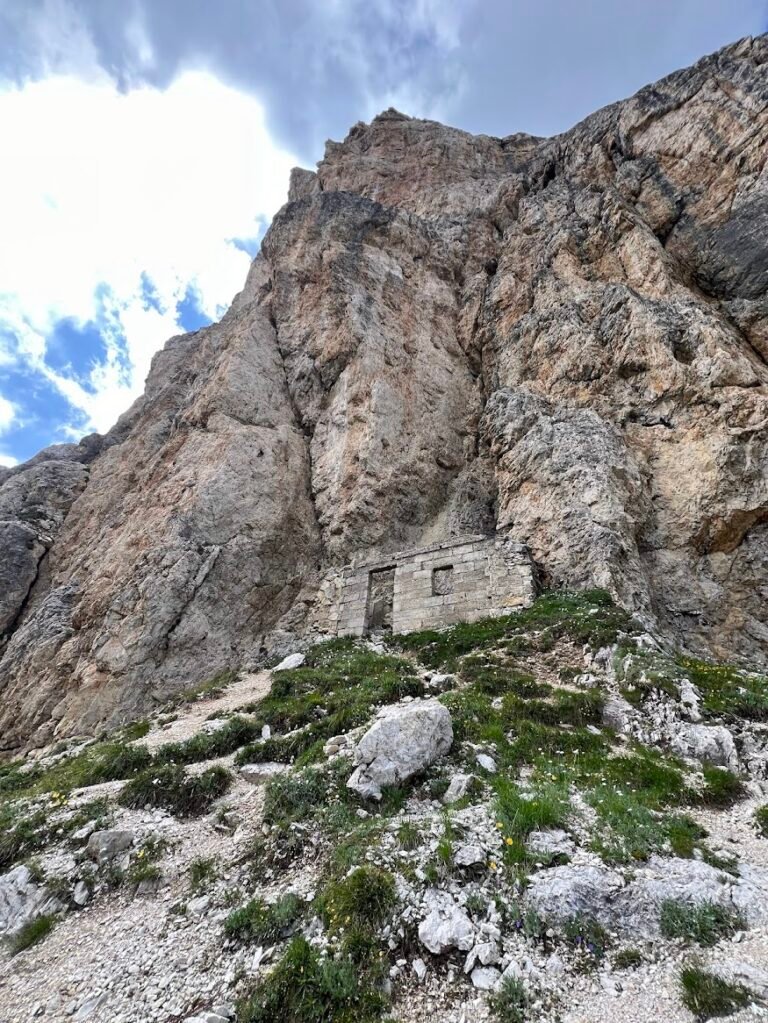
After admiring the views near the rifugio, the hike descends a series of switchbacks. The Frontline Trail is so named as there are World War I tunnels and military posts you can explore along the way. Note the tunnels require the use of a helmet and a flashlight. As we didn’t have those, we just completed the hike as is, but saw many others heading into the tunnels.
As we continued down, we were treated to views of the Tofana di Rozes across from us and further still we hiked into the gully of Forcella Travenanzes. Having this hike be all downhill with absolutely zero sketchy sections makes this such a pleasant hike and family-friendly. We highly recommend it!

Hike Details
- 3 miles | 131 feet elevation gain (2,024 feet elevation loss) | 1hr 45 min to complete
- Drive to the location listed as "Passo Falzarego, 7 Parking" on your map. This was about a 30-minute drive from where we stayed in Cortina and is only a 10-minute drive from the parking lot for the Cinque Torri hike.
- There are free parking spots in a lot across from the Lagazuoi cable car base station, and also along the shoulder of the road. There is also a paid parking lot behind the Lagazuoi cable car station where parking for a car during the day was €5.
- No fee for trail use. The Lagazuoi cable car was €18.50 for an adult one-way ticket. The cable car departs every 15 minutes between 9am and 4:40pm when the last run occurs. See paid parking above.
7. Fanes Waterfalls
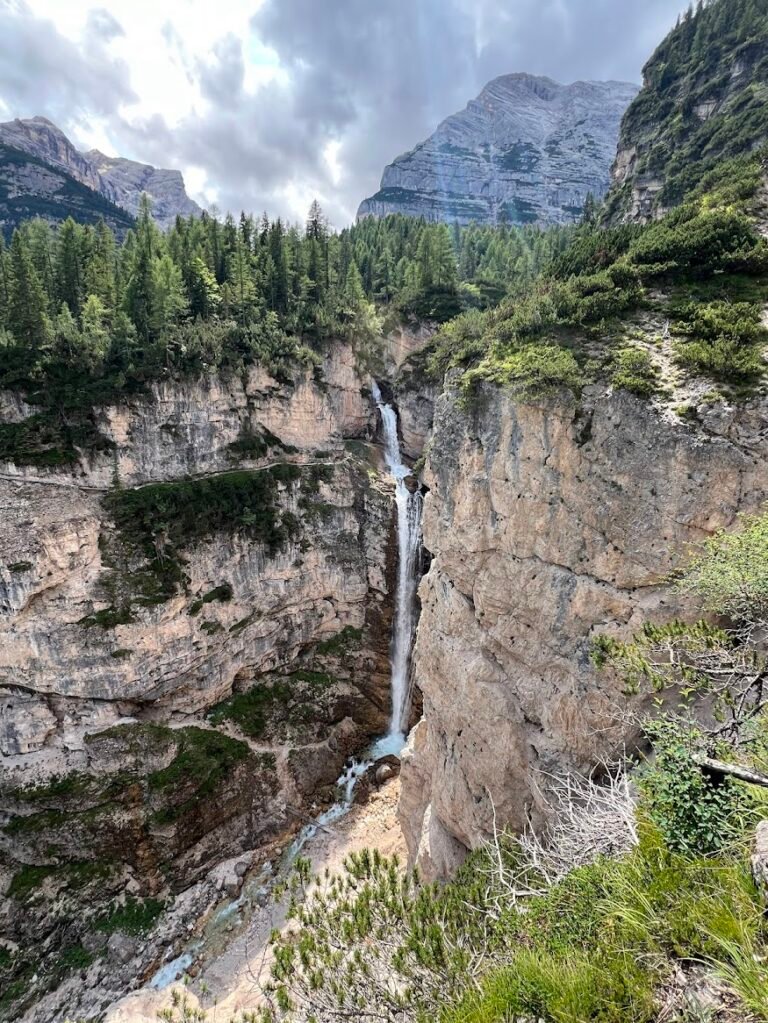
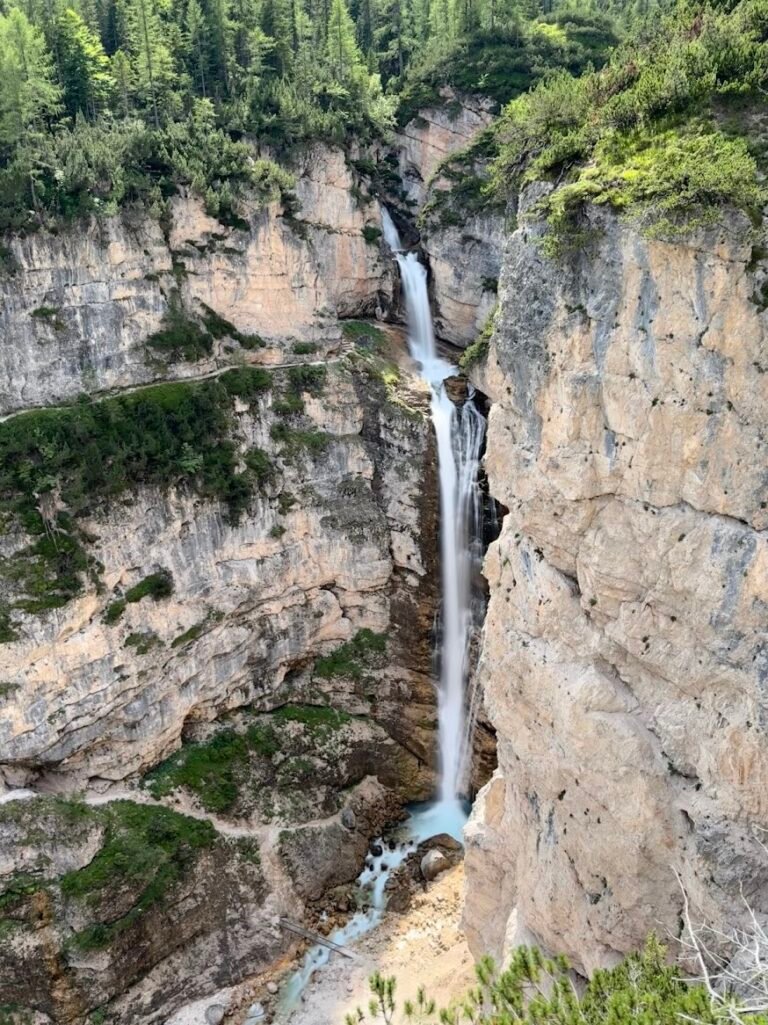
This is a great little hike to a viewpoint overlooking Fanes Waterfalls. The trail begins with a hike along the river, crossing several bridges, and then enters a gentle path in the forest. Gradually the trail climbs and ends at a viewpoint on a large platform overlooking the falls. They have one of the tallest drops and highest flow rates in the Dolomites.
We did this hike as an out-and-back and as an add-on hike in the afternoon after Lago di Sorapis in the morning. This trail was blessedly quiet compared to Lago di Sorapis. We loved it!
Note there are several via ferrata routes, rated easy, near the waterfalls. One even climbs behind the waterfalls! We put this on our list to try the next time we are in the Dolomites because it looked really fun.
Hike Details
- 3.4 miles | 774 feet elevation gain | 1 hr 40 min to complete
- Drive to the location listed as "Parcheggio Sant'Uberto" (in Località Sant'Uberto) on your map. This was about a 20-minute drive from where we stayed in Cortina.
- There is a fairly large, paid parking lot at Sant'Uberto. Parking tariffs were in effect between 7am and 3pm when we visited and it was €8 to park for the day. There are, however, several parking spots just outside the lot gates and we were able to snag one (for free) when we arrived around 2pm.
- No fee for trail use. See paid parking above.
8. Passo del Diavolo from Lake Misurina
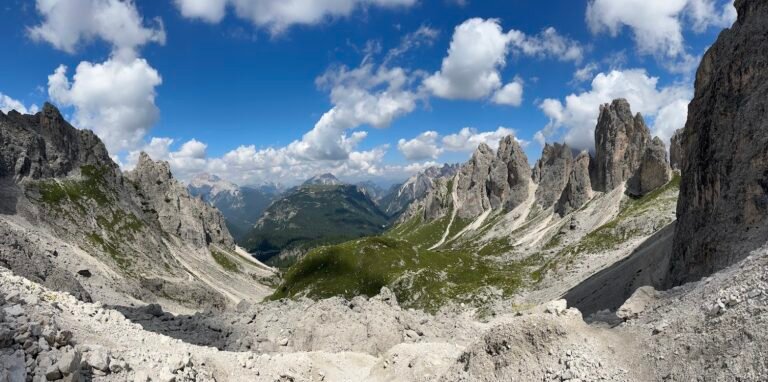
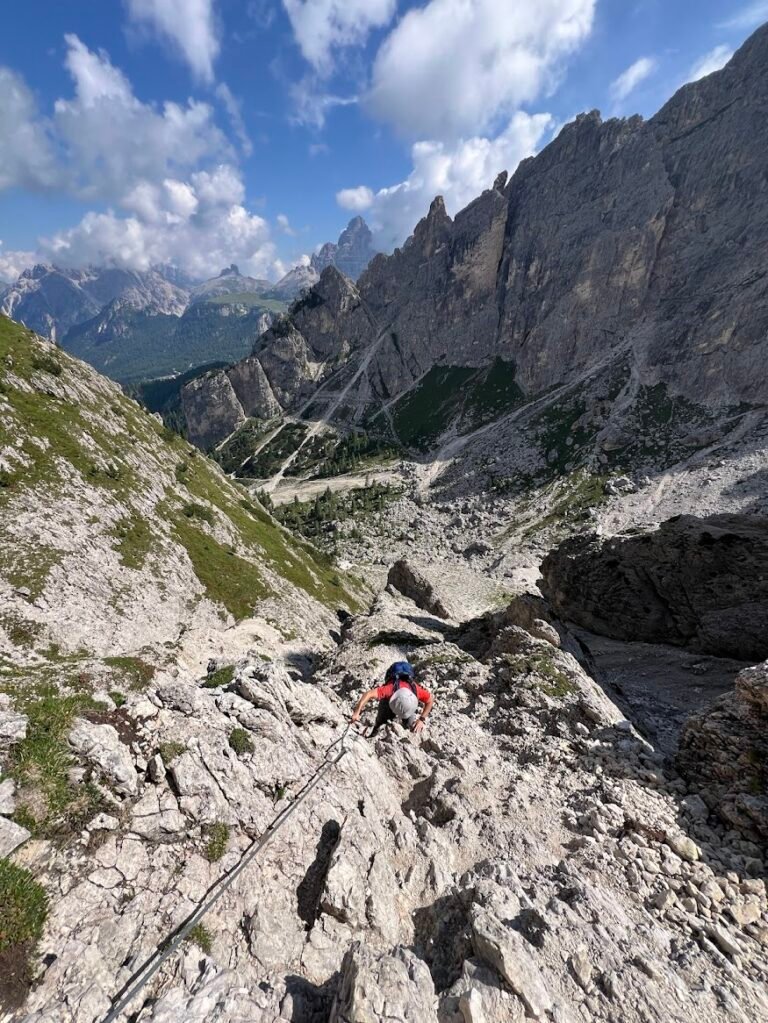
Don’t let the short mileage fool you, this hike is not for the faint of heart! Hikers should be aware that the route involves down climbing along a fixed line (similar to a via ferrata route), climbing up boulders via the use of ladders, and some very steep descents on sheer scree.
This hike begins by taking a chairlift from the shores of Lake Misurina to Rifugio Col de Varda. The trail then ascends across the bottom slopes of nearby peaks before climbing sharply up to Forcella di Misurina. And then…the trail essentially goes straight down on the other side. At this point there is a cable and although we did not have via ferrata gear, if you had some, now would be the time to use it.
Once at the bottom, we turned and climbed again, this time up a series of very steep switchbacks with ladders bolted to the boulders near the very top of Forcella del Diavolo. That’s right, Devil’s Fork! Once at the top, looking down at where we had to go made me want to cry. It was once again straight down, this time on loose scree. More surefooted, Mike elected to slowly make his way down the trail, while I made use of the fixed rope nearby to painstakingly lower myself down to the bottom. We made it!!
It should be said, that the views throughout this entire trail are unreal. You are surrounded by gray, jagged peaks in every direction. We made our way to Rifugio dei Tocci, rested for a bit, and then set out on the remaining 3 miles of trail which were a more manageable, gentle descent. If you want the views but not the harrowing first 3 miles of the trail, you might consider hiking up and back to the rifugio without using the chairlift. We saw many people who did just that and think it’s a great option.

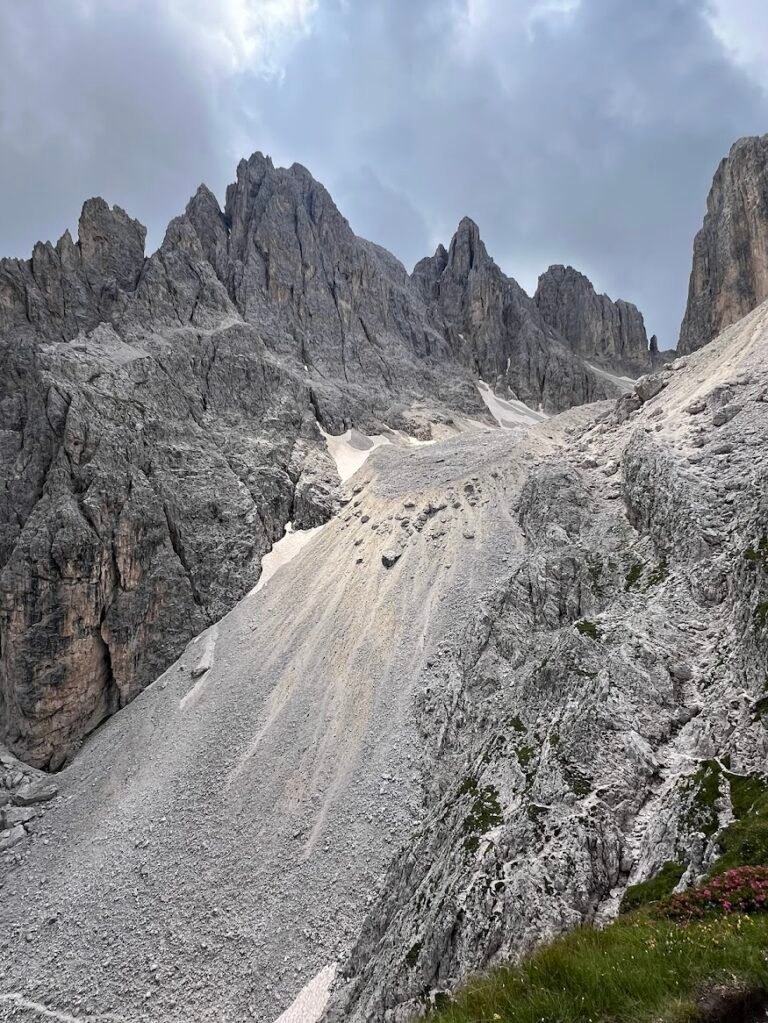
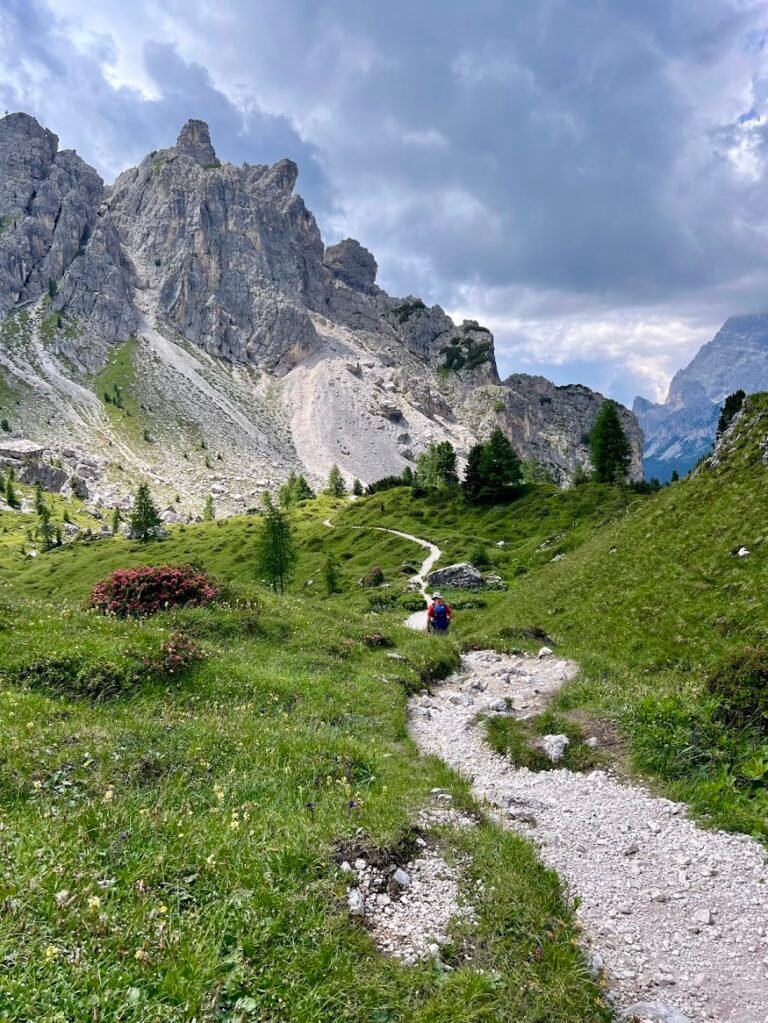
Note: This map includes the out-and-back to Forcella del Nevaio from Rifugio Fonda Savio. We did not complete this portion due to time and energy constraints.
Hike Details
- 5.5 miles | 2,044 feet elevation gain | 4 h 40 min to complete
- Drive to the location listed as "Seggiovia Col de Varda" on your map. This was about a 35-minute drive from where we stayed in Cortina.
- There is a free, medium-sized parking lot for patrons of the chairlift only, right at the base of the chairlift station.
- No fee for trail use. A roundtrip ticket on the Col de Varda chairlift was €15 per adult. When we were there the chairlift began running at 9am on the dot. Last run up was at 4:45pm.
9. Cinque Torri via Baita Bai de Dones Circuit

We loved the Cinque Torri area so much that we decided to visit twice on our trip! On our first trip we took the 5 Torri chairlift both ways and on our second we hiked the entire way instead. In short, we think this area is worth visiting twice, but we’d recommend saving your legs and going up and down via the chairlift.
Our clockwise route took us through a forest initially, but then dumped us on to a service road that leads to the rifugio. It was a fast ascent, but boring.
Once at the top, we spent more time exploring the base of Cinque Torri on trails we had not taken earlier in the week. One even led right through the towers themselves. We also walked down a bit into the valley, and made sure to enjoy snacks from Rifugio Scoiattoli.
Heading down, the views from the trail were fantastic and the trail itself was well-graded and more interesting than the way up. Do note at the very end, however, the trail walks through the ski area and there are muddy spots and dormant snowmakers to watch out for.
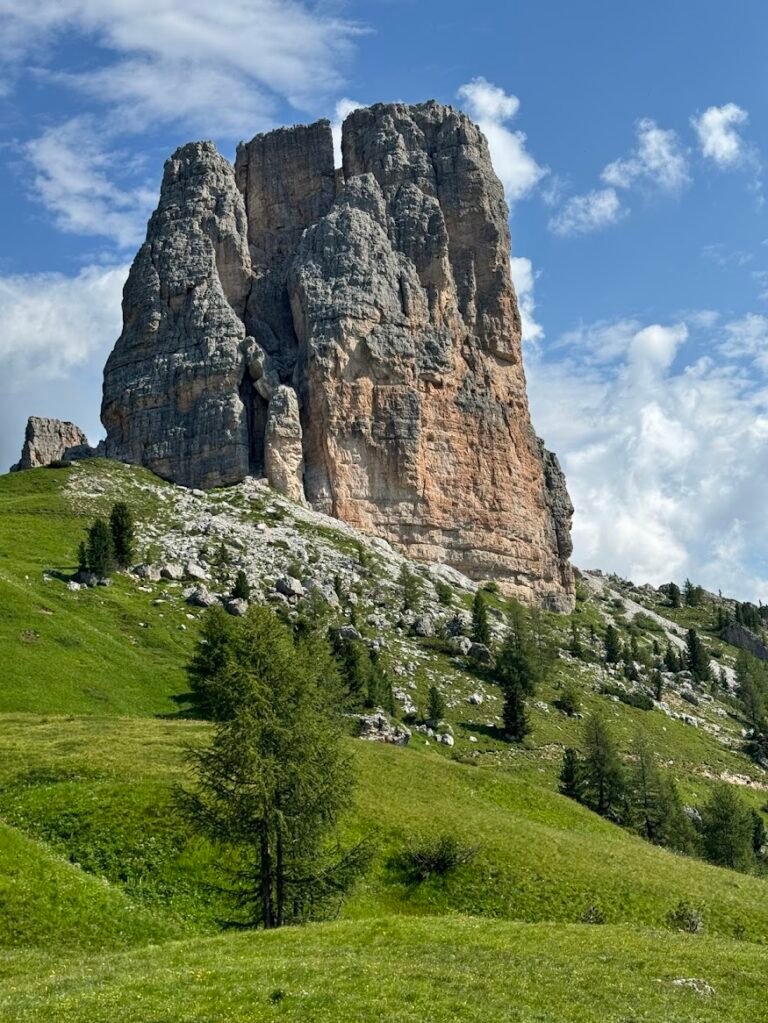

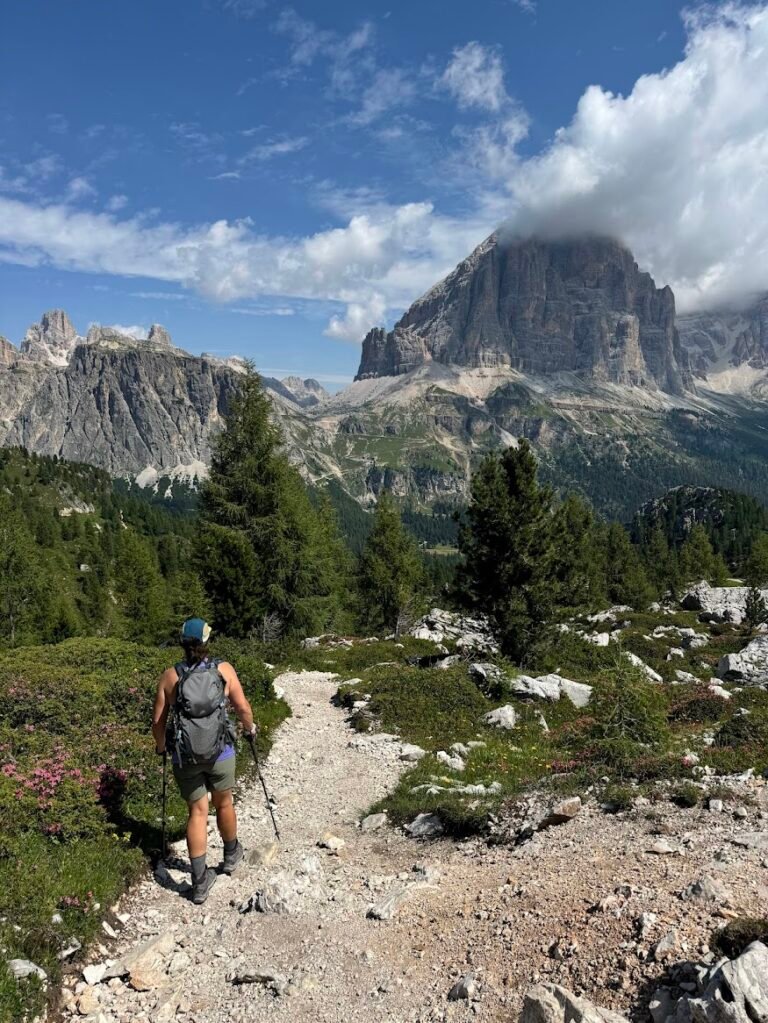
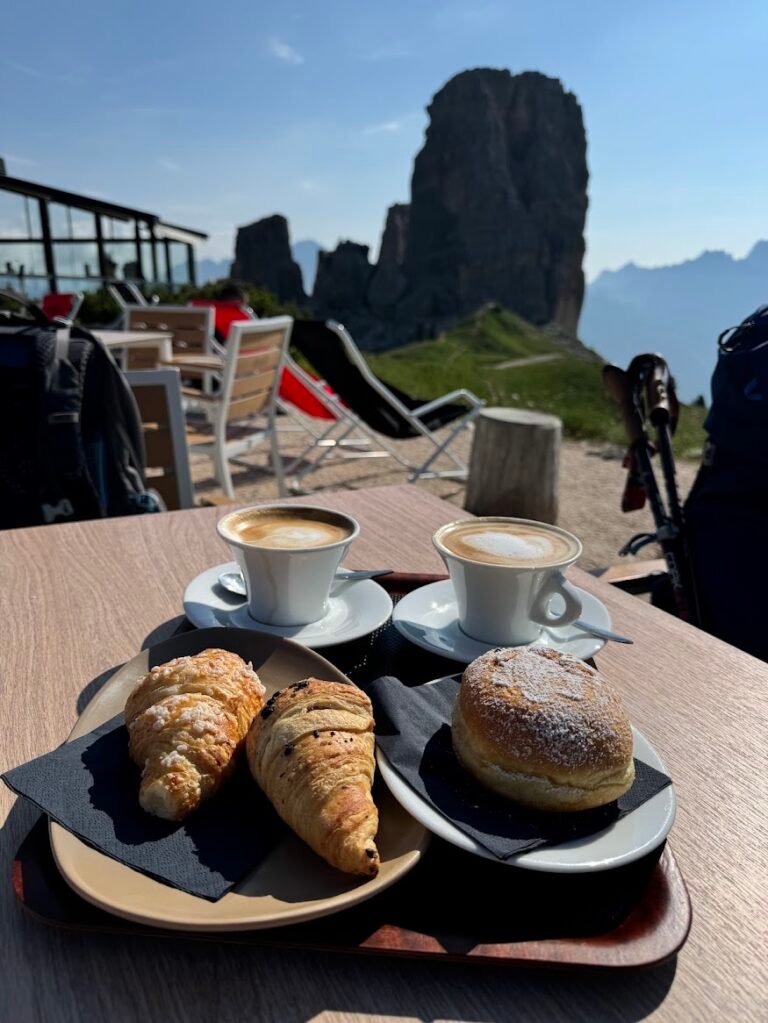
Note: Our total mileage includes some exploring exploring in the nest of trails atop Cinque Torri which isn’t a part of this “official” trail. We think this is one of the best parts of visiting the area!
Hike Details
- 6.75 miles | 1,913 feet elevation gain | 4.5 hours to complete
- Drive to the location listed as "Seggiovia Cinque Torri" on your map which is the chairlift base. This was about a 25-minute drive from where we stayed in Cortina.
- There is a large, free parking lot, or if that is full there is parking nearby along the road.
- No fee for trail use.
10. Punta Anna Via Ferrata
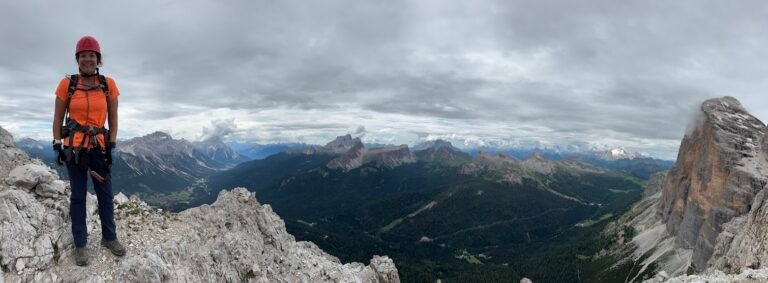
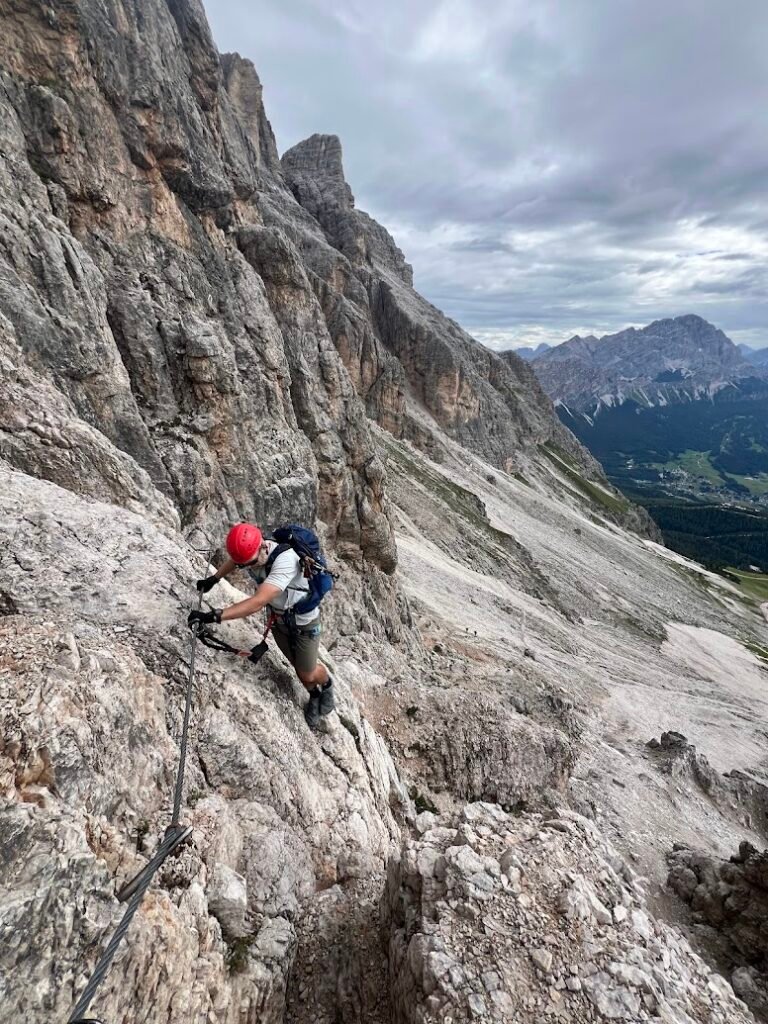
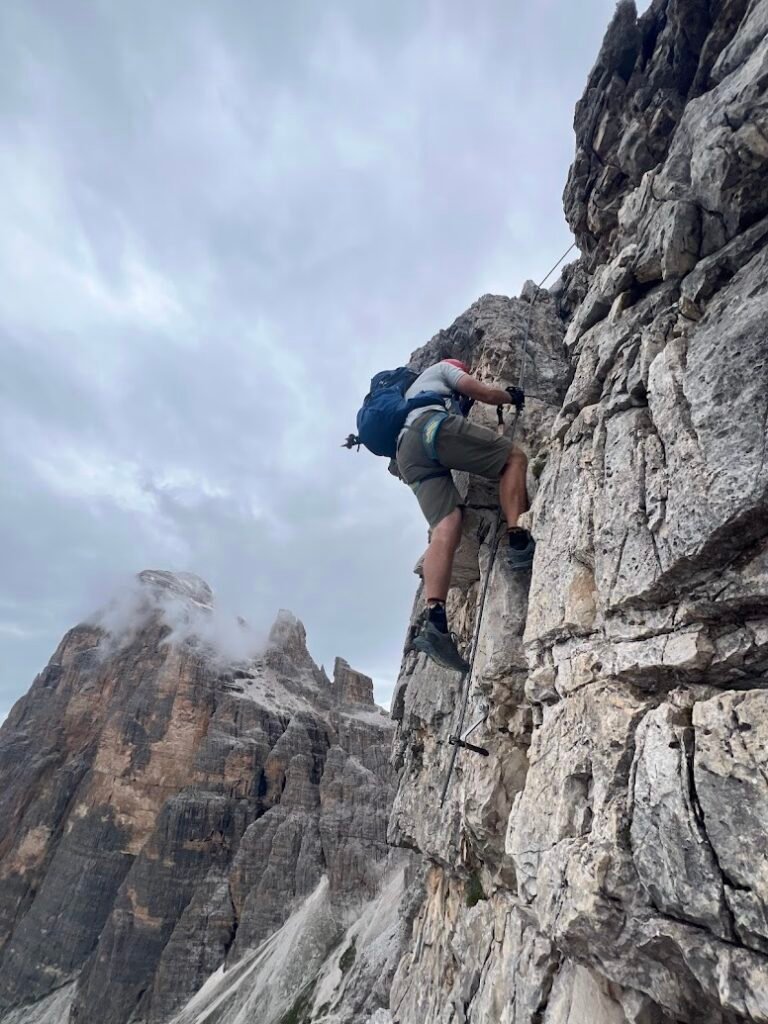
Although it is not a straight hike, we would be remiss if we did not include our experience of hiking to and completing the Punta Anna via ferrata. The Dolomites are considered the birthplace of via ferratas and as such are home to a large number of these “iron treks” which are climbing routes protected by cables, rungs, and ladders.
We have prior experience with via ferratas and knew we wanted to do one in the Dolomites, however, we didn’t feel comfortable setting out on an advanced route by ourselves. We used the service Explore-Share to find a local guide and had the best experience. Our guide, Enrico, provided all the necessary equipment, expertly shepherded us through the route, took photos and videos along the way, and had a beer with us afterwards while providing hiking recommendations for the rest of our time in the area. Two big thumbs up from us!
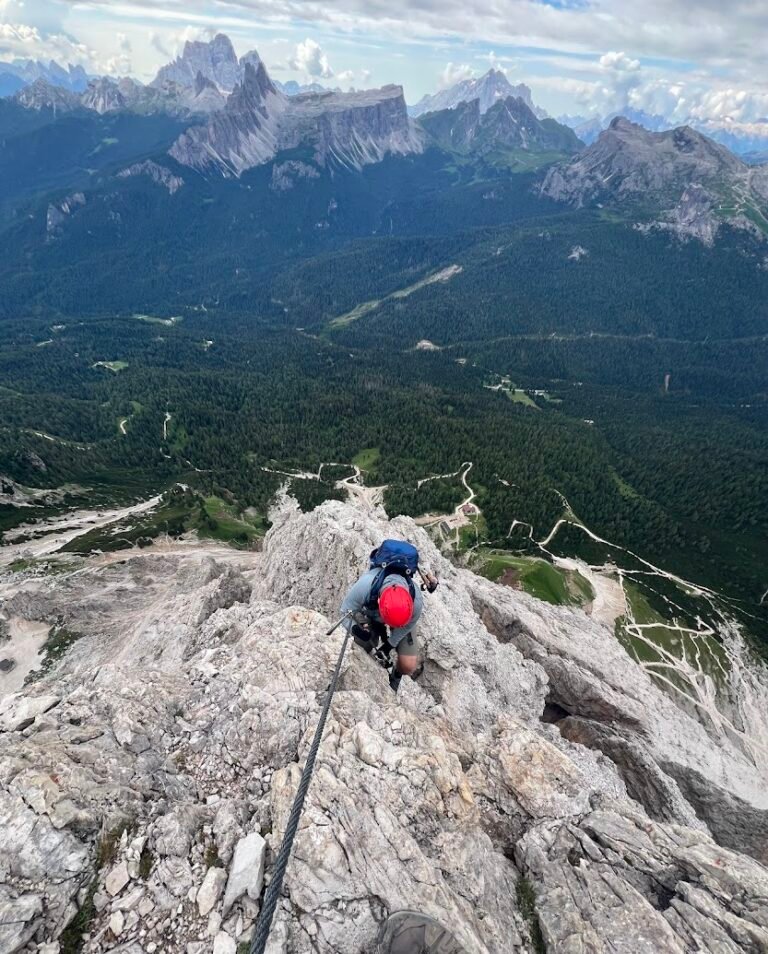
We began our day by hiking up to the base of the via ferrata, then donning our gear and beginning the climb. This route was different from our previous experiences in that it had virtually no iron rungs; it was more straight climbing. This was challenging, but ended up being much more fun.
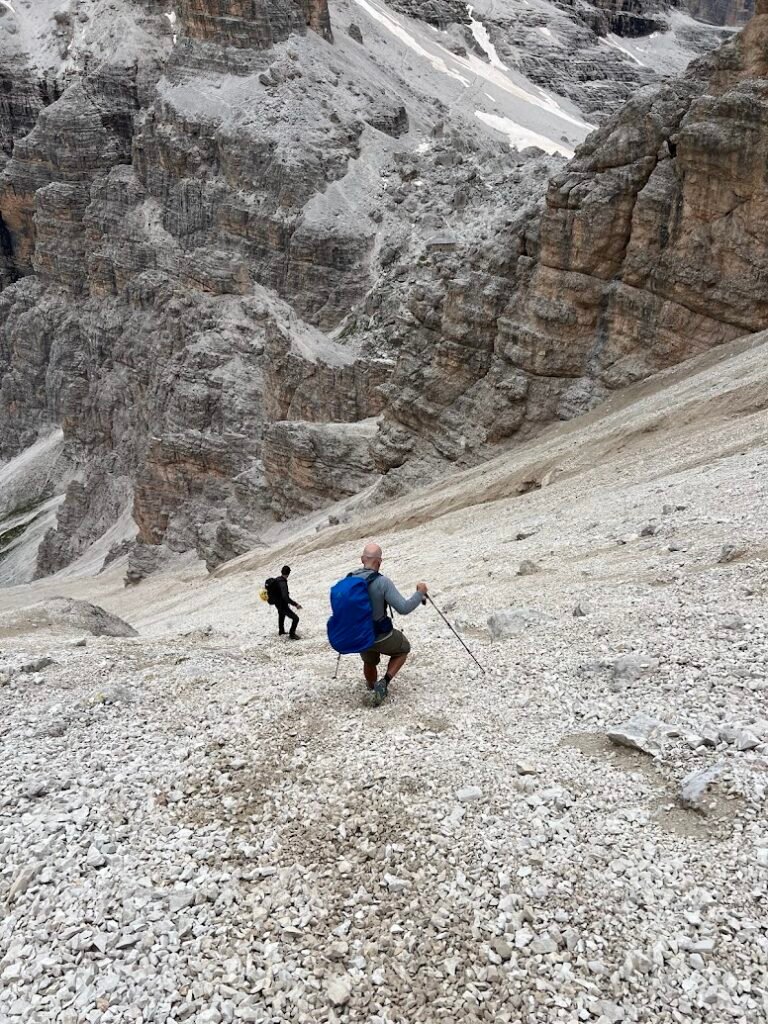
The route itself was along an exposed ridgeline and the views were incredible. Once at the summit, we hiked down a bit and then largely descended straight down a gully of scree. Having never summer glissaded before, this was a very uncomfortable experience for me (Mike was fine). Just know that this will be how you have to get down once you are done! The very last part of the day was a straight hike down to the rifugio for a well-deserved back at the end.
If you have prior rock climbing experience and are not afraid of heights or exposure, we can wholeheartedly recommend the Punta Anna via ferrata while in the Dolomites!
Note: This map is an approximation of our via ferrata experience as we started and ended at the Rifugio Angelo Dibona instead of taking the chairlift to Rifugio Pomedes.
Hike & Via Ferrata Details
- 3.69 miles | 2,251 feet elevation gain | 4.5 hours to complete
- Drive to the location listed as "Rifugio Angelo Dibona" on your map. This was about a 30-minute drive from where we stayed in Cortina. Note the last portion of the drive is up a steep, but well-graded gravel road.
- There is a large, free parking lot next to the rifugio.
- No fee for trail use.

